

I manage quality on packaging lines, and I’ve lost count of the late-night calls that start with, “We’ve got another leaker.” After one too many audits, I stopped trusting a single metric to tell the whole story. Based on insights from ASFL projects, the patterns are consistent: numbers can look neat while seals tell a different truth.
On paper, OEE can sit in a comfortable band and FPY can look steady, yet a Monday-morning teardown shows micro-leaks we didn’t catch in-process. Operators do their best under pressure, but when seal parameters drift, the symptoms surface hours or days later. That’s where traceability, sample discipline, and a sober look at process windows matter.
I’ll walk through what the dashboard misses, how vacuum sealing really works in plain English, why a hybrid verification approach beats any one method, and the quick wins we used to calm the leak rate without overcomplicating the line.
What Don’t the Numbers Show?
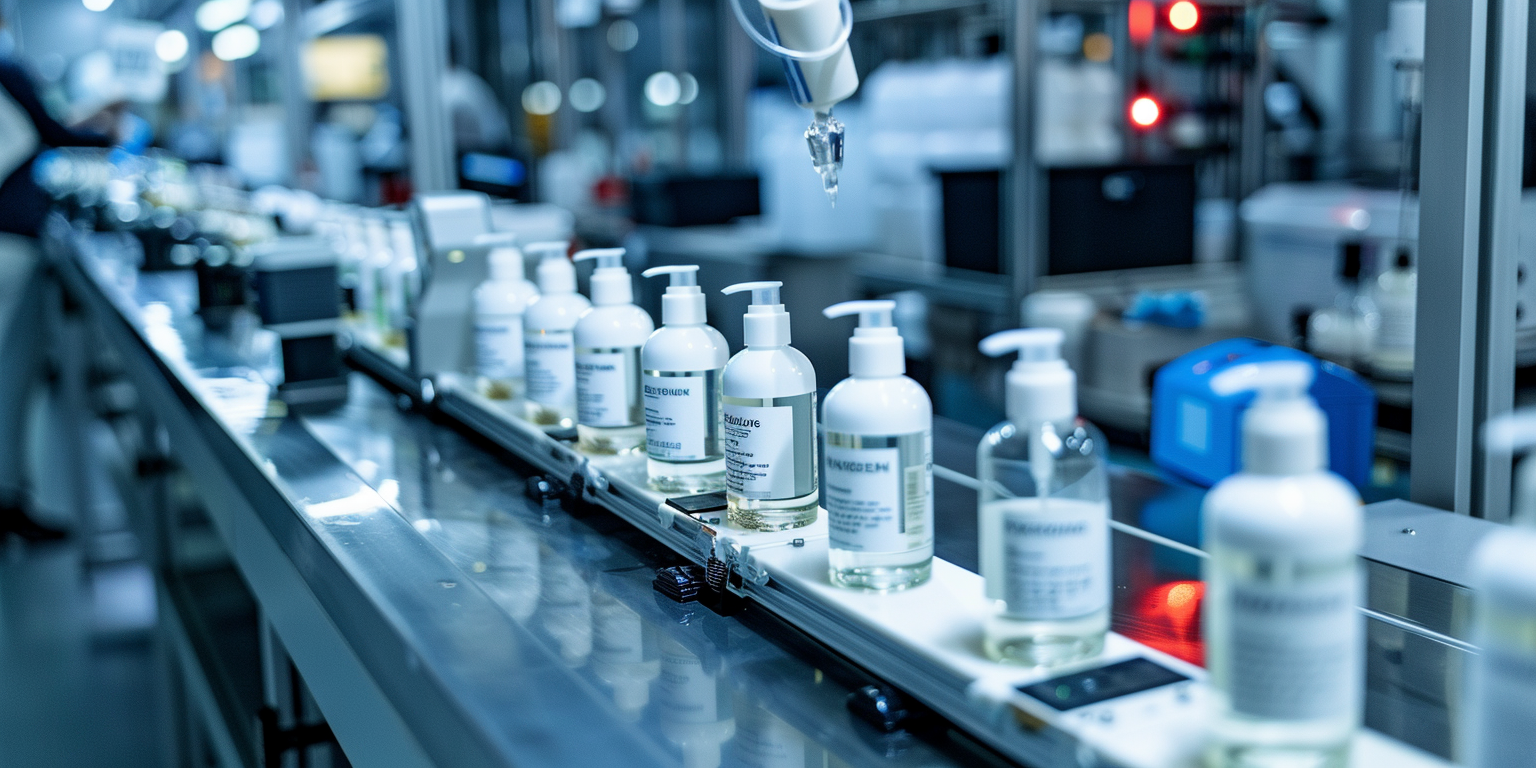
We often celebrate neat dashboards: OEE steady, scrap trending down, line speed on target. Then the QA bench finds a mis-seal rate hovering around 3–5% on mixed-format runs. Those patterns hide when defects show up post-cooling or later in distribution. FPY sitting at 80–85% looks acceptable until you pair outcome data with seal integrity tests. That pairing is where gaps emerge.
Leak testing tells a less flattering story. Batch samples with 2–4% failures aren’t dramatic, but they’re costly and hard to trace when formats, films, and operators rotate every few hours. A household guide like "foodsaver preserve vacuum sealer" focuses on consumer use; in a plant, we wrestle with variation across film lots and product moisture. The number that matters most at the bench isn’t a single FPY figure—it’s the dispersion across shifts and SKUs.
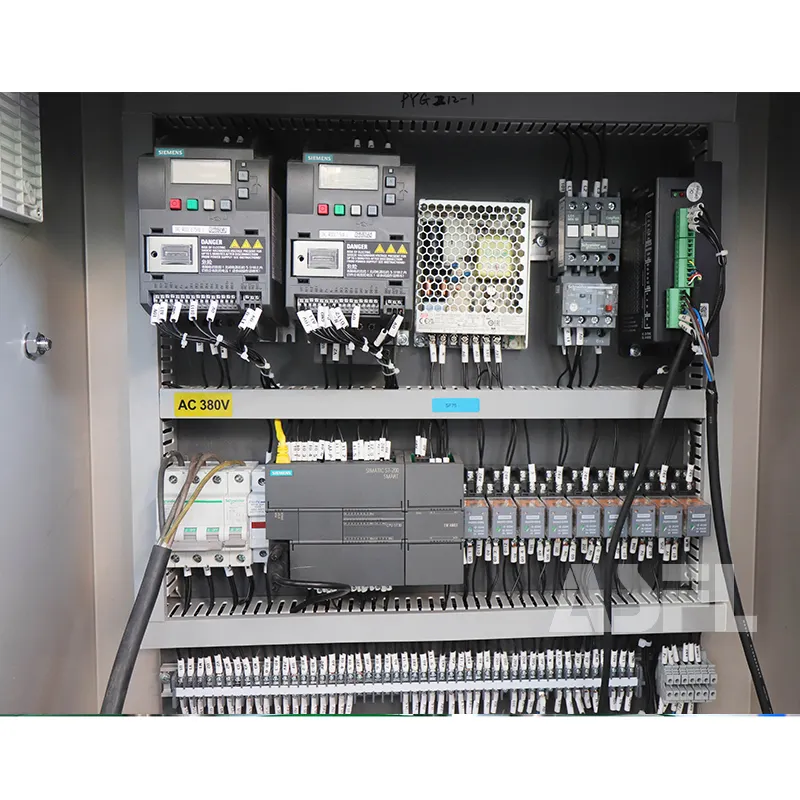
We learned the hard way that small vacuum variation (±10 kPa from the validated setpoint) correlates with subtle seal weakness. That drift rarely alarms the HMI, and it doesn’t show up in OEE. It shows up later in tear-downs and customer returns. If the metric doesn’t capture the timing of failure, you need a second lens.
How It Actually Works (Plain English)
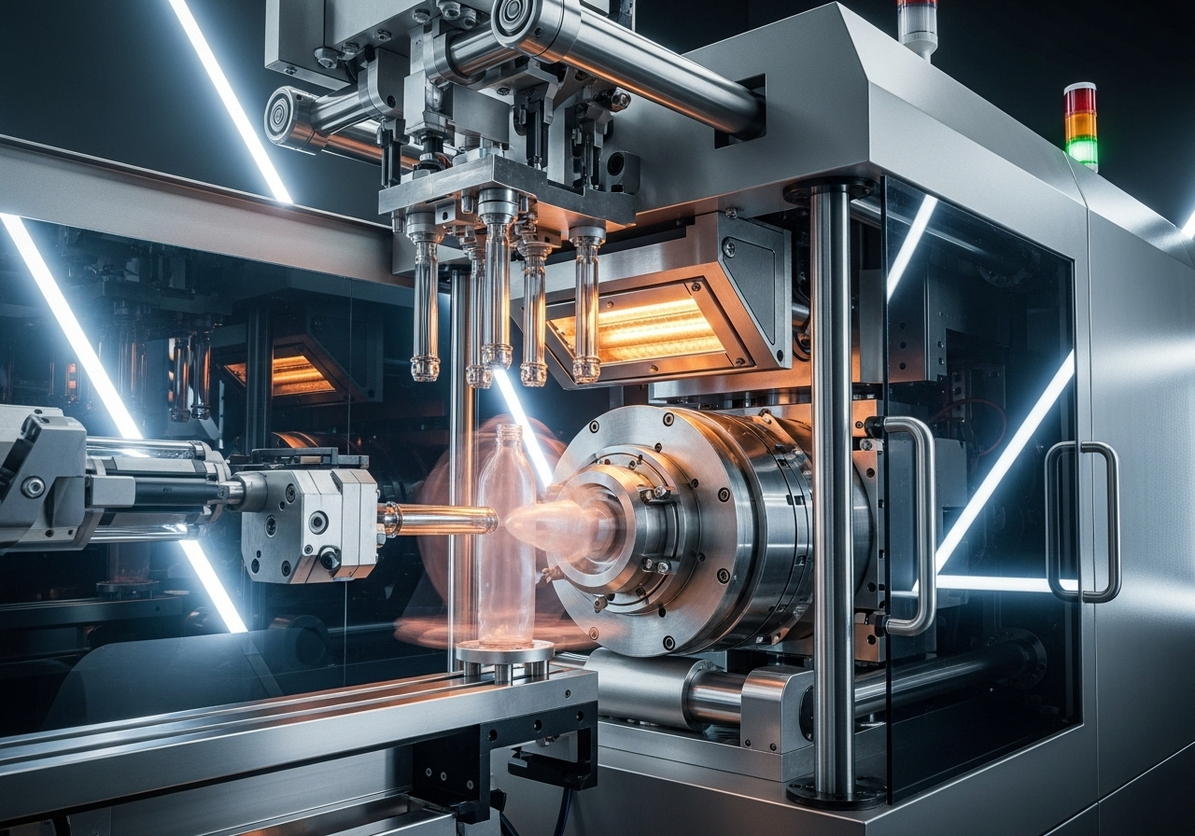
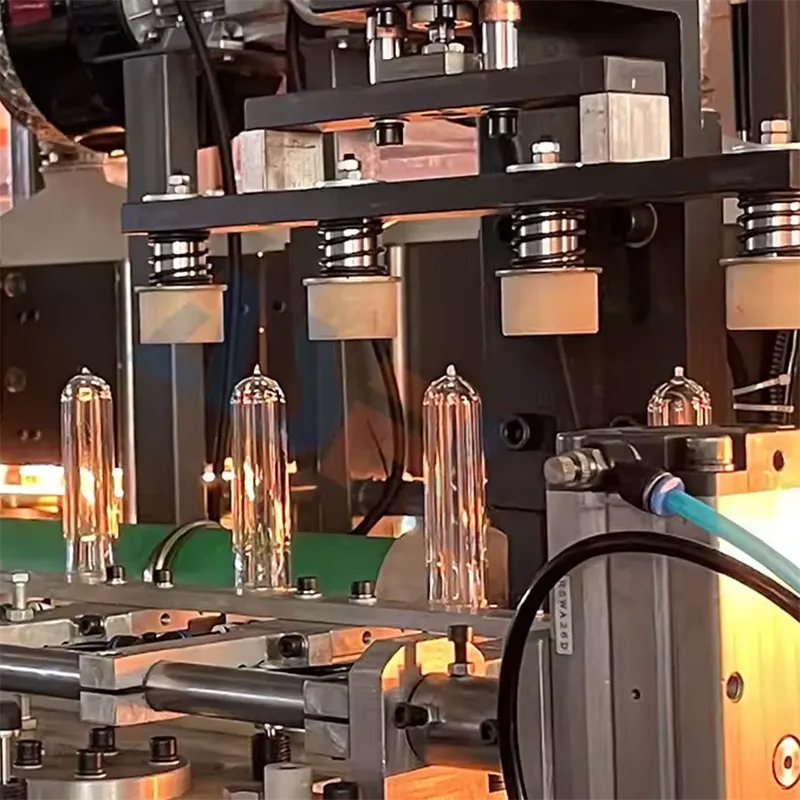
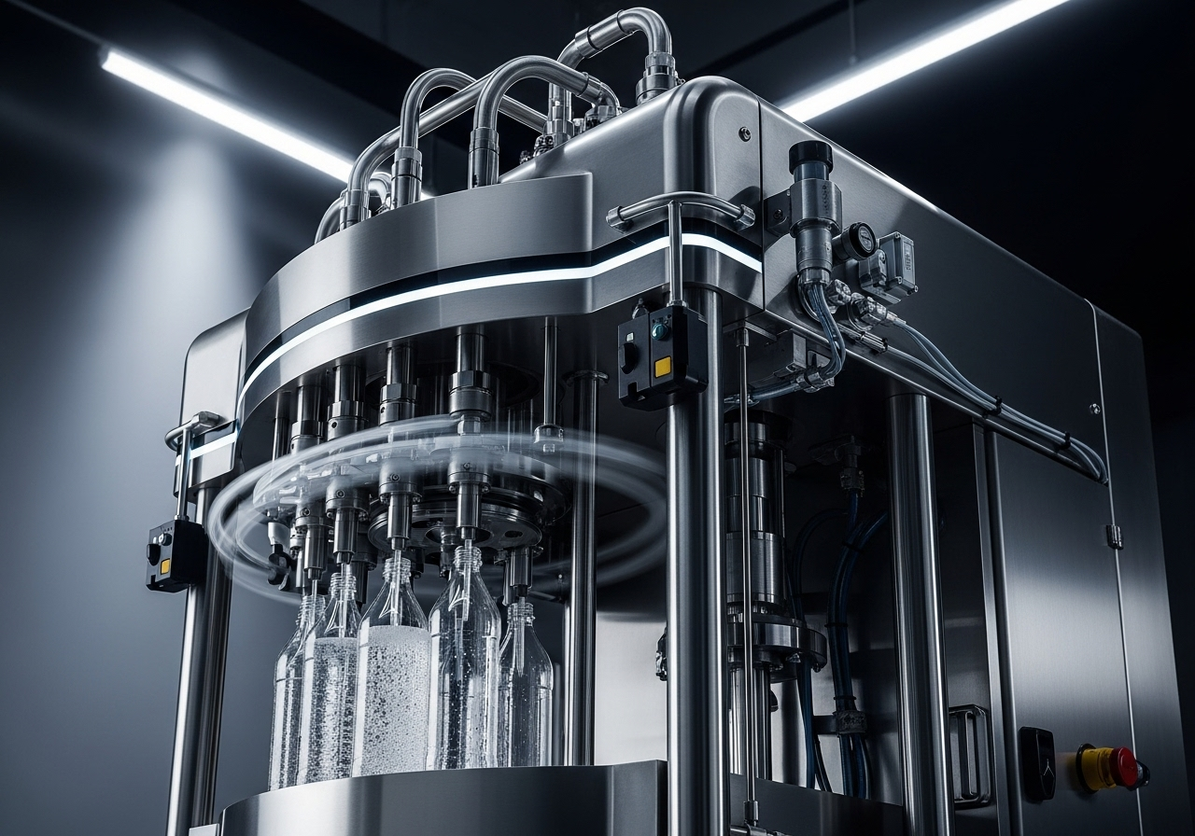
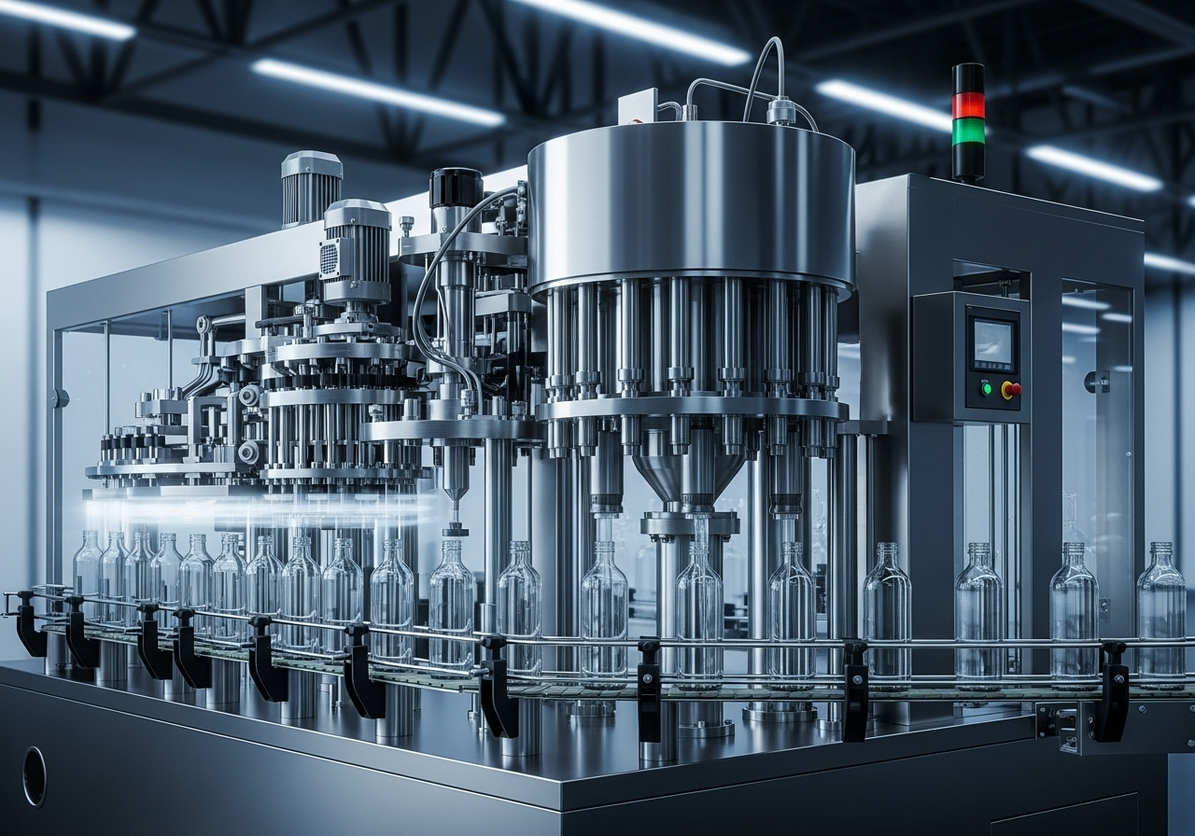
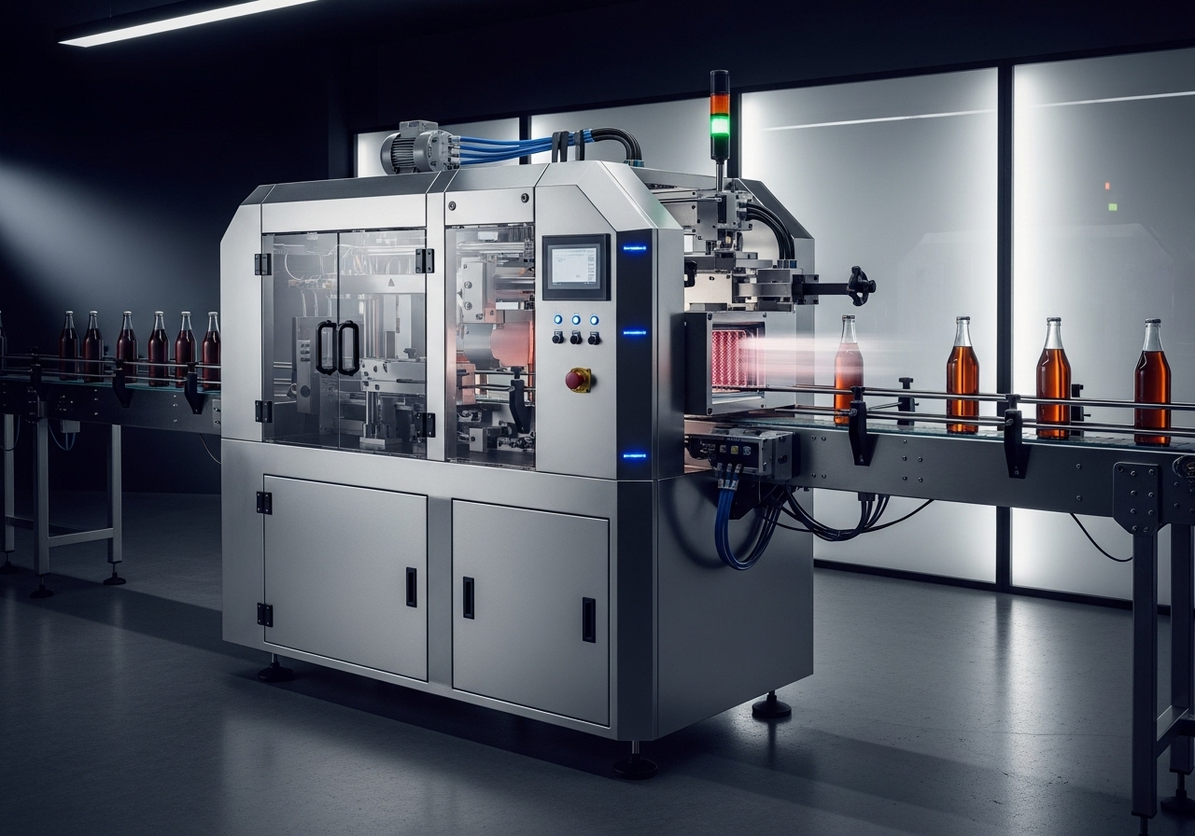
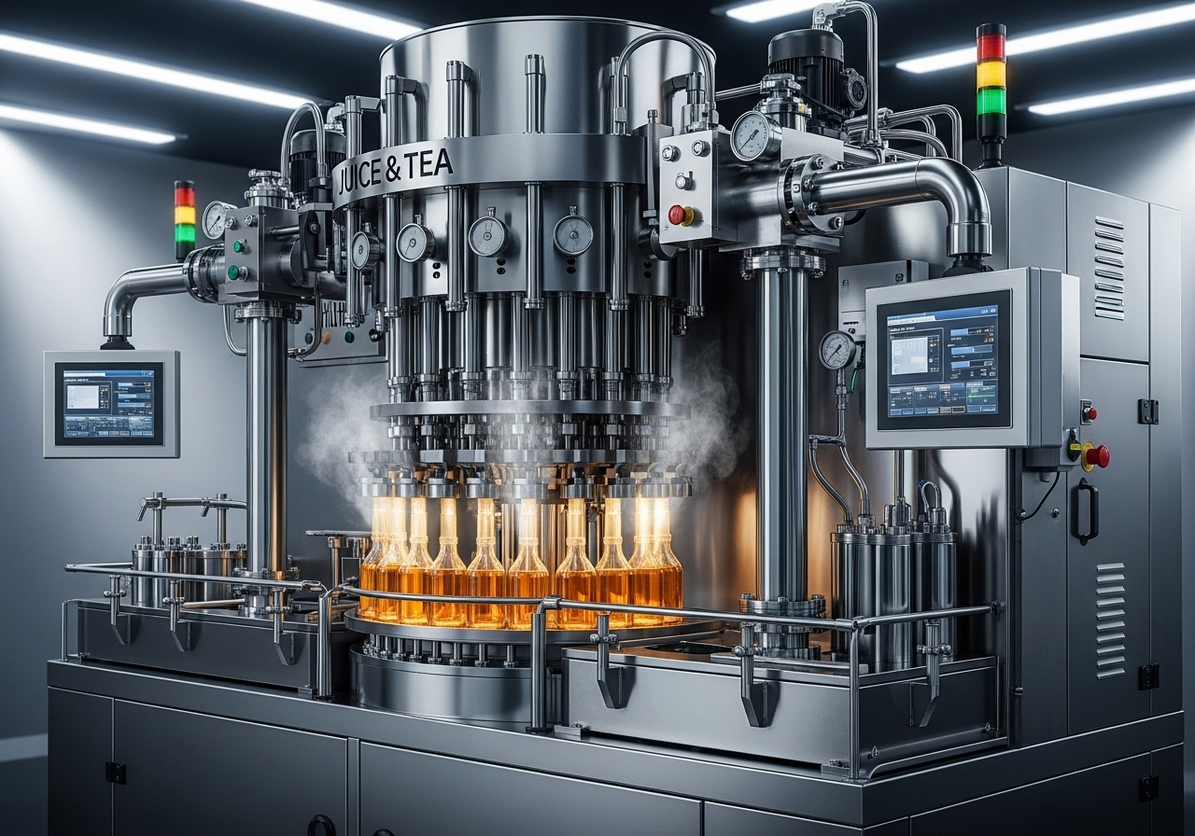
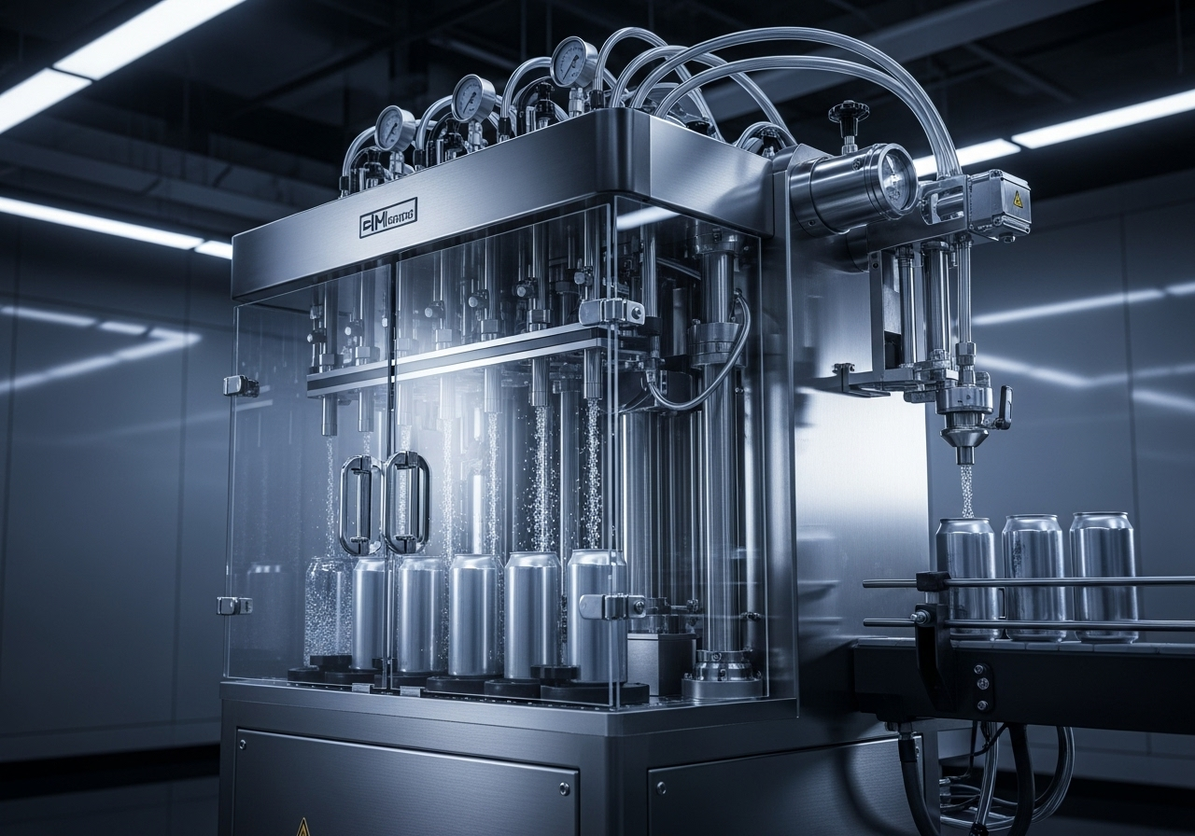
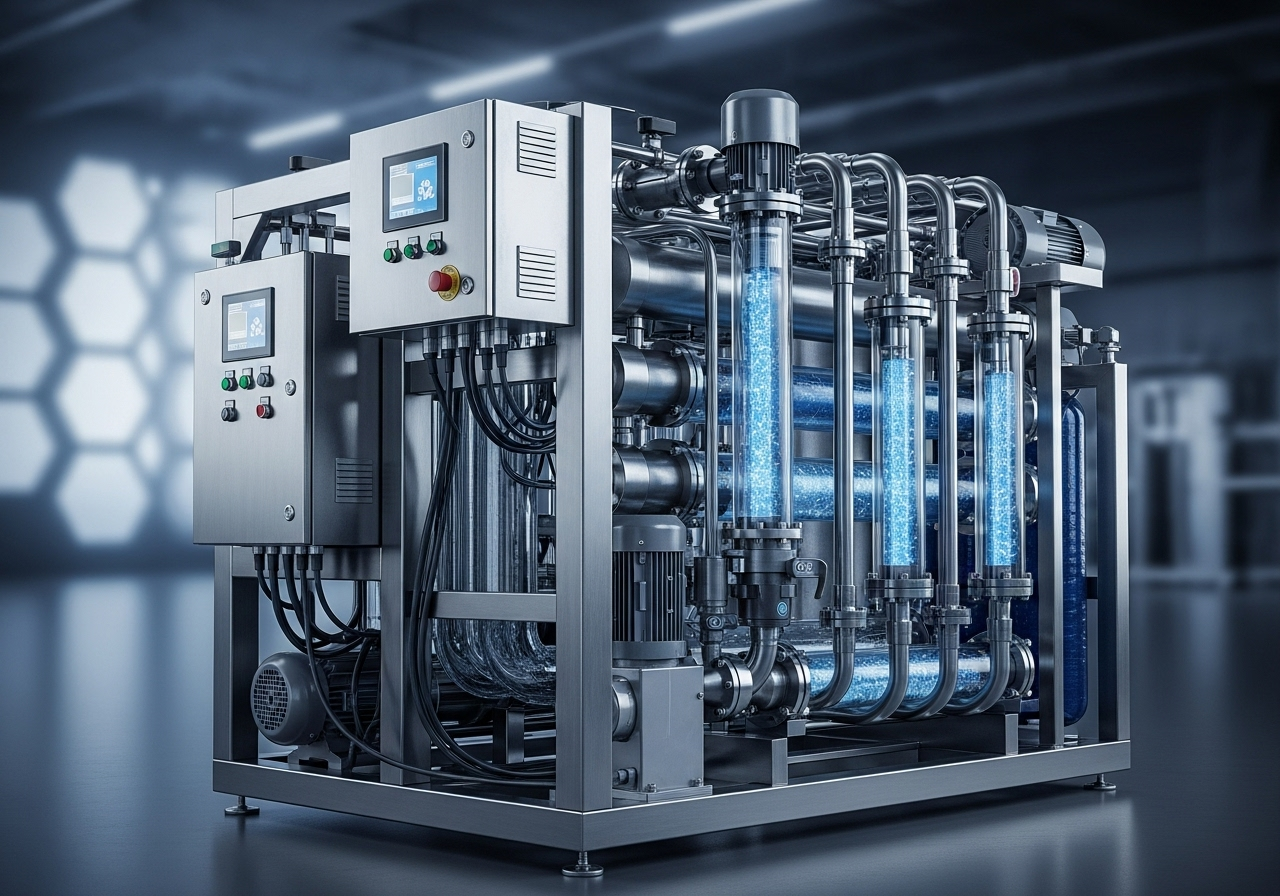
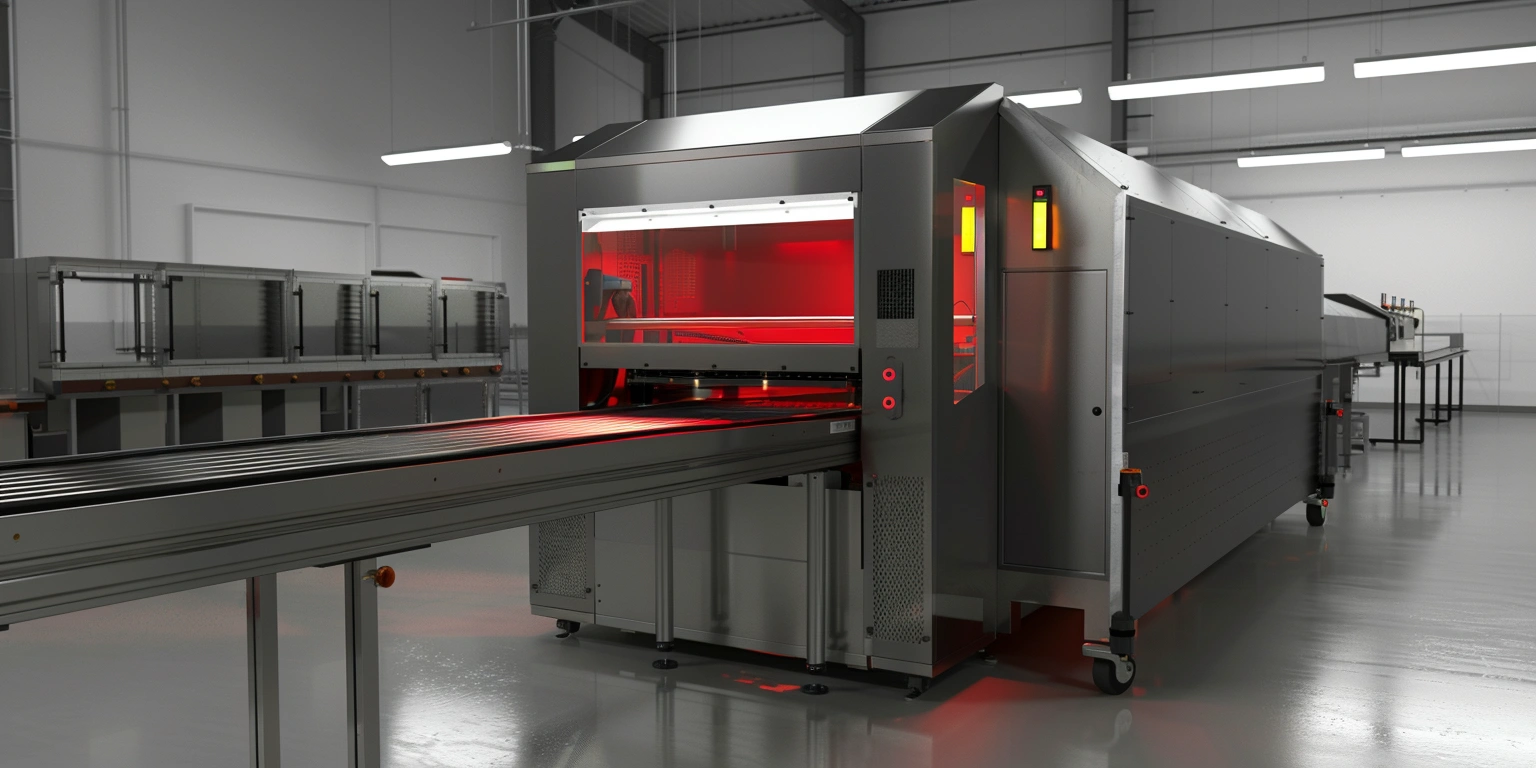
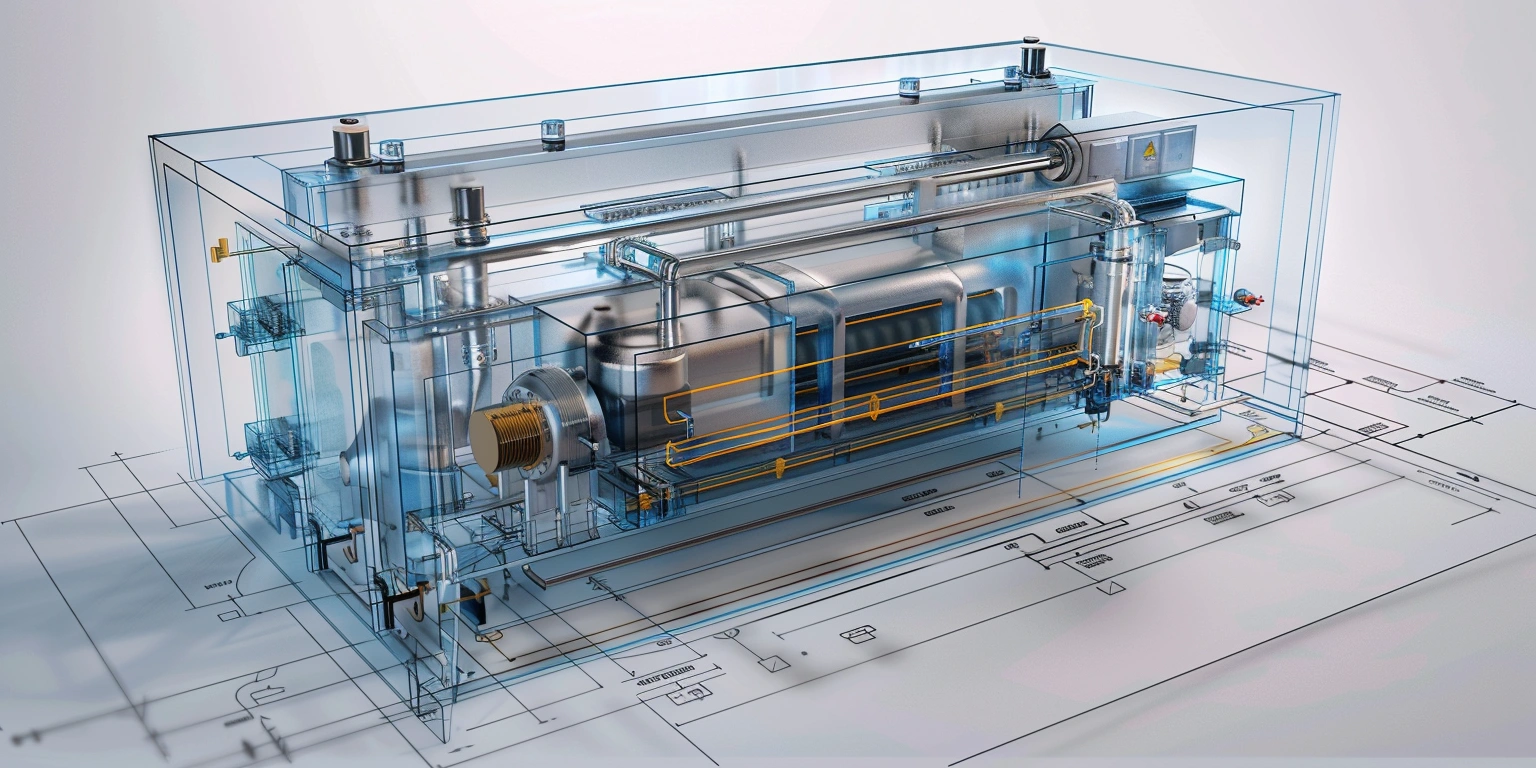
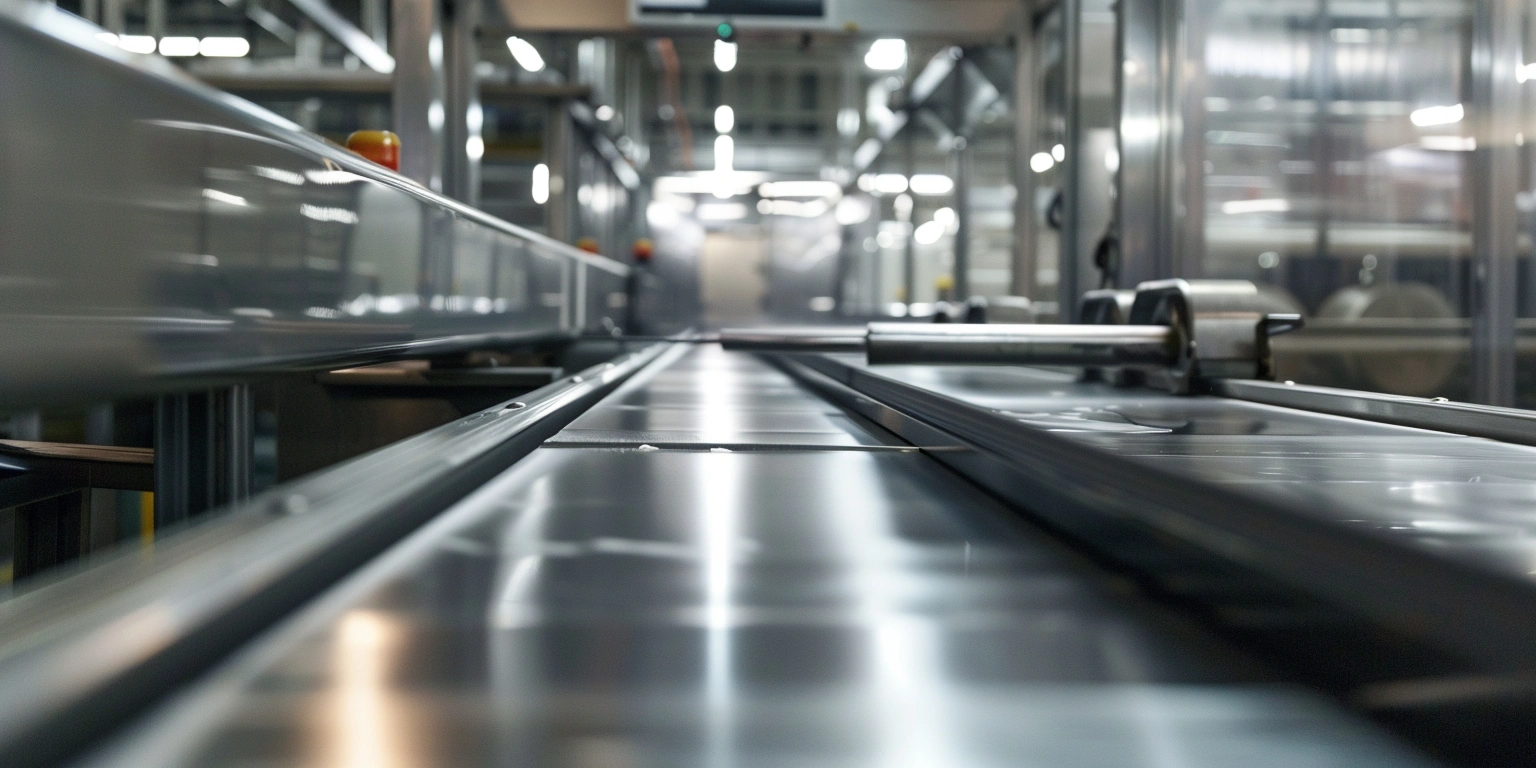
Vacuum sealing is a simple chain with unforgiving links: remove enough air, apply heat and pressure, and let the seal set. In practice, you validate windows: vacuum at –75 to –85 kPa for your product and bag, seal bar temperature around 160–180°C, and dwell time near 0.6–0.9 seconds. Outside those ranges, film doesn’t behave; inside them, consistency becomes realistic.
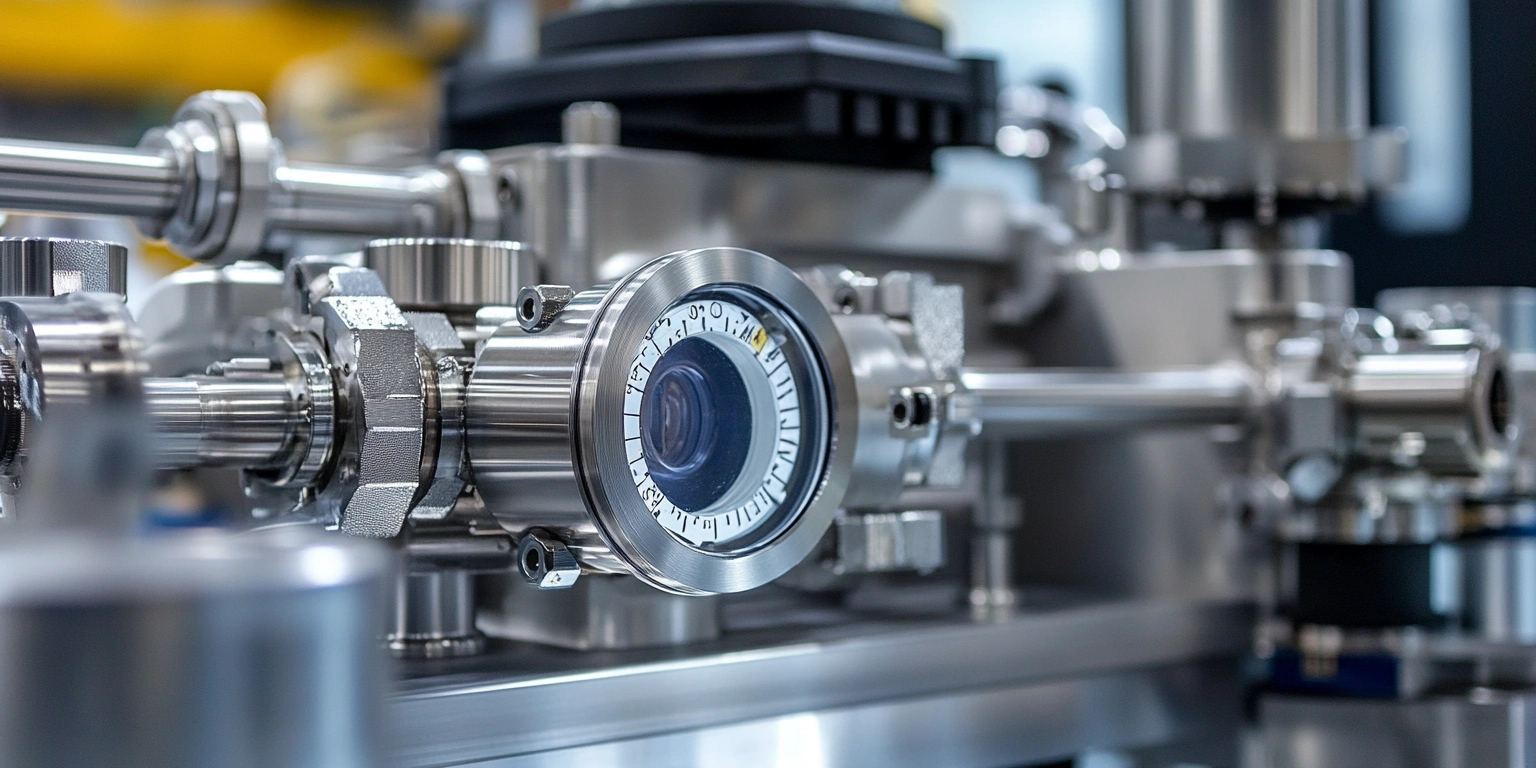
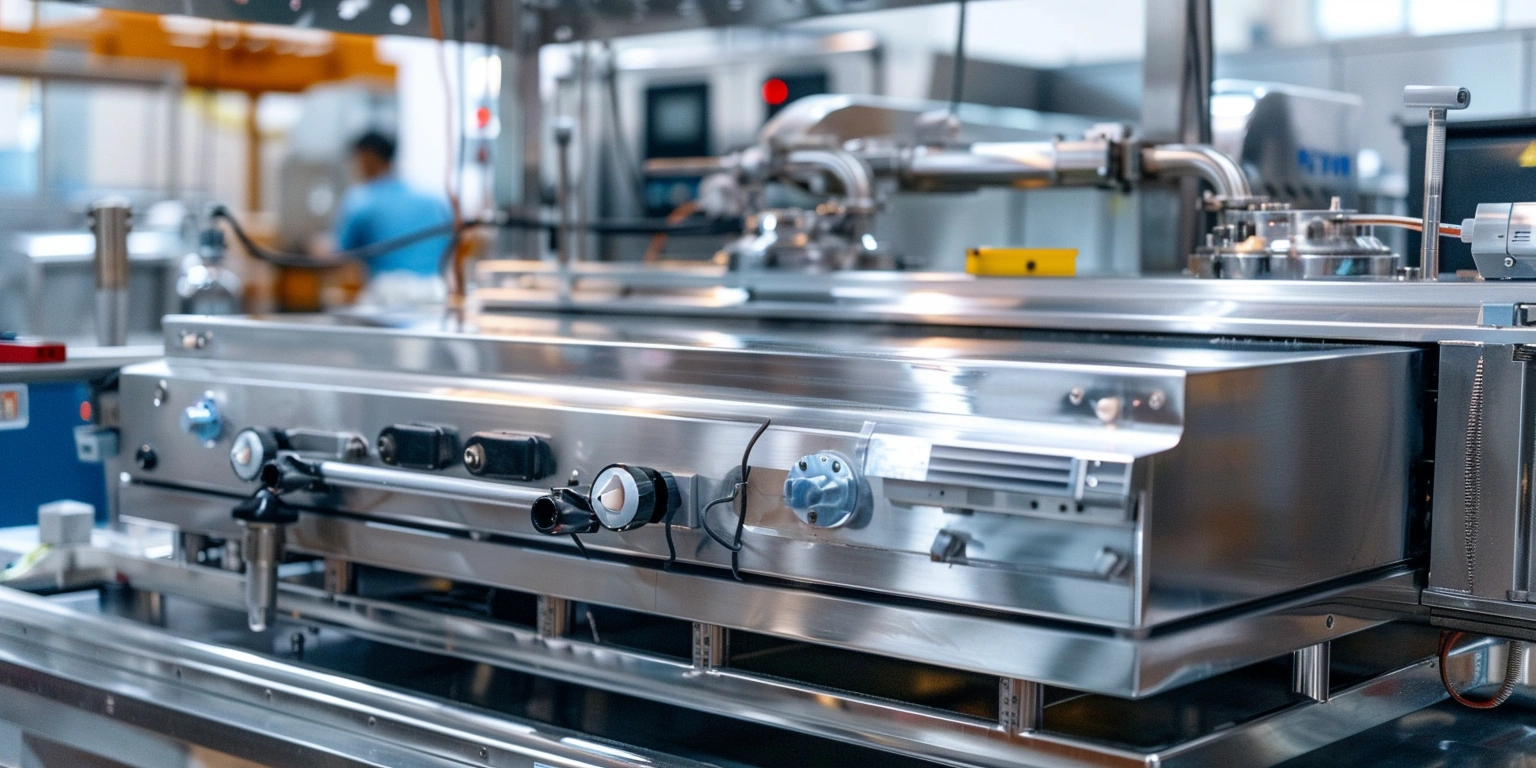
Pumps, valves, and bar geometry matter. Oil-sealed rotary pumps provide stable vacuum; dry pumps reduce maintenance at the cost of slightly different response. Upright bag devices—think "bell & howell instaseal upright bag ASFL vacuum sealerealer" or "foodsaver space saving food ASFL vacuum sealerealer"—highlight the principle in a consumer format. On a mid-speed line, 40–70 packs/min is typical; scale higher and your process window narrows unless you invest in better control and cooling.
The seal’s strength depends on uniform heat transfer and pressure distribution. Film thickness, product moisture, and even headspace shape change the thermal profile. We validate with routine leak checks and periodic destructive tests, not because we don’t trust sensors, but because physics wins every time. If your parameters drift, no sensor alone saves you.
The Hybrid Approach
We moved away from single-metric faith toward a hybrid plan: tight parameter control with alarms set at ±5–8 kPa from baseline, plus operator sampling and quick leak tests at defined intervals. Operators also get a pragmatic, hands-on refresher—yes, including a short module inspired by "how to use seal a meal vacuum sealer"—because the basics of bag handling, moisture management, and seal inspection translate to industrial lines when taught correctly. If you’re asking, "what is a good vacuum sealer?" From a quality seat, it’s one that holds vacuum consistently within a validated window and produces uniform seals across your product mix—day and night shifts alike.
After the change, FPY moved from 82–86% to 88–92% across three lines, and sample leak failures settled around 0.8–1.2%. Those numbers didn’t hinge on one silver bullet. They came from combined controls, disciplined sampling, and better operator feedback loops. It’s not perfect—format changes still nudge results—but the process is more stable and predictable.
Quick Wins That Built Momentum
We chased simple fixes first. Parameter drift was the recurring culprit, so we tightened calibration checks and put a small visual SOP right at the station. Film lot changes got tagged in the traceability system so unusual seal behavior could be linked to material. With those basics, scrap shifted from 3–5% to roughly 1–2% on the SKUs we monitored closely.
Next came sampling cadence and feedback. A small bench test at regular intervals, with a fast log for out-of-spec results, gave operators a voice. We also added a short seal inspection checklist targeted at moisture-heavy products and thicker films. It sounds mundane, but it’s the most reliable way to find a leaker before it leaves the room. It’s the difference between corrective action in minutes vs escalation in days. For teams looking to benchmark, even consumer guides like "foodsaver preserve vacuum sealer" underscore proper bag placement and headspace—habits that pay off on industrial gear when scaled.
None of this is universal. Your product, film, and line speed will set the real limits, and you’ll still encounter stubborn formats. But with disciplined controls and sampling, you can keep quality risks manageable. If you want a second opinion or a structured trial, the field notes from ASFL teams mirror these lessons: start small, validate your window, and let the data guide each next step.