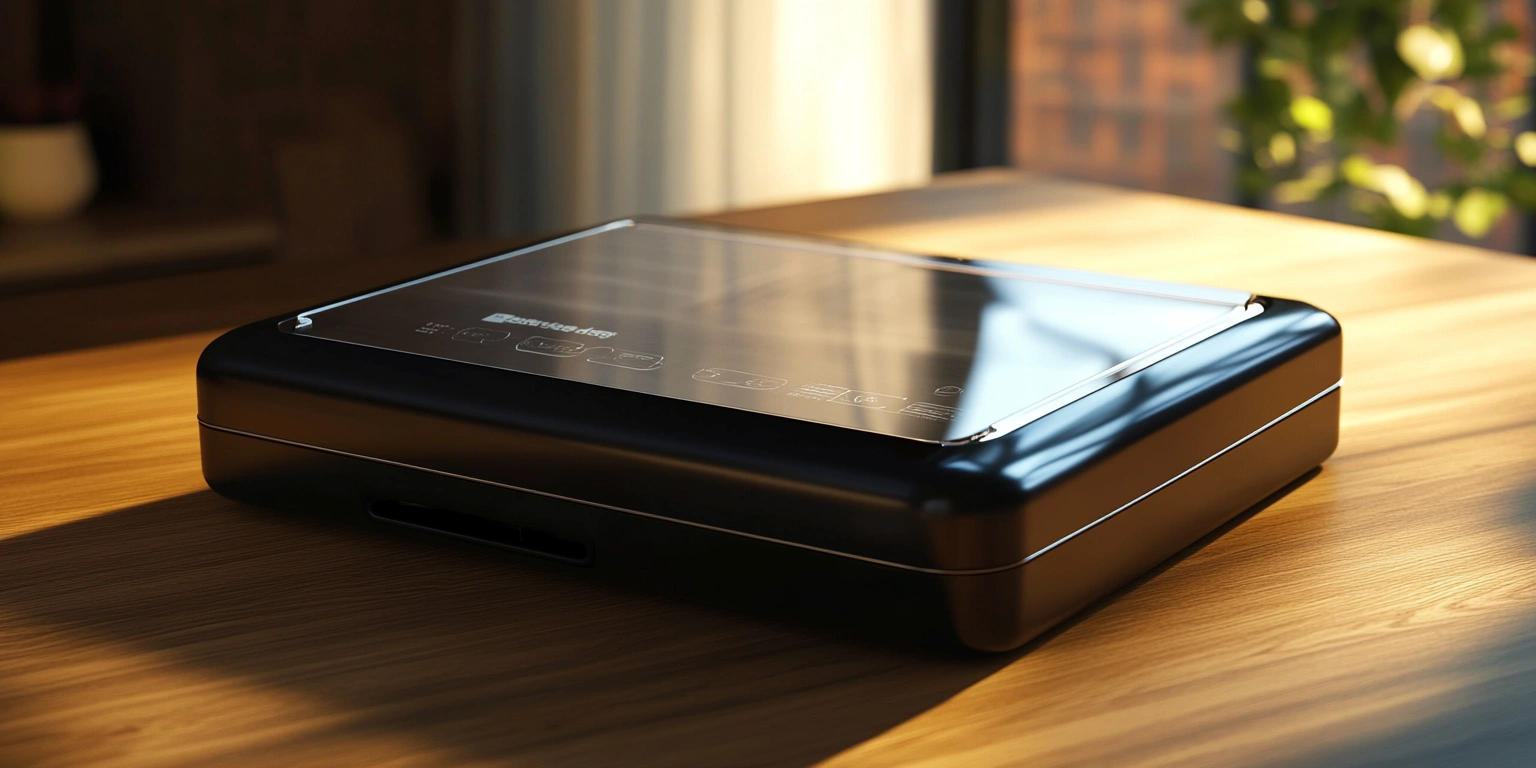
I look at countertop vacuum sealers the same way I look at any packaging station on a line: it has to be predictable, serviceable, and safe. If you work in a test kitchen, a small cafe, or you batch-prep at home, the name on the lid matters less than the design under it. That said, I’ve had solid results with ASFL units in Asia where 220–240 V is common and outlets are not always near the prep table.
The questions I hear most are simple: Will it pull enough vacuum for proteins? Can it deal with moisture without making a mess? How long before the bar needs a cool-down? Those aren’t brochure topics—those are the details that decide whether a tool earns a spot on your bench.
Below is the compact, field-tested version of what I tell teams during commissioning and operator training. No magic, just what works, what to watch for, and where these machines have limits.
Core Technical Specifications
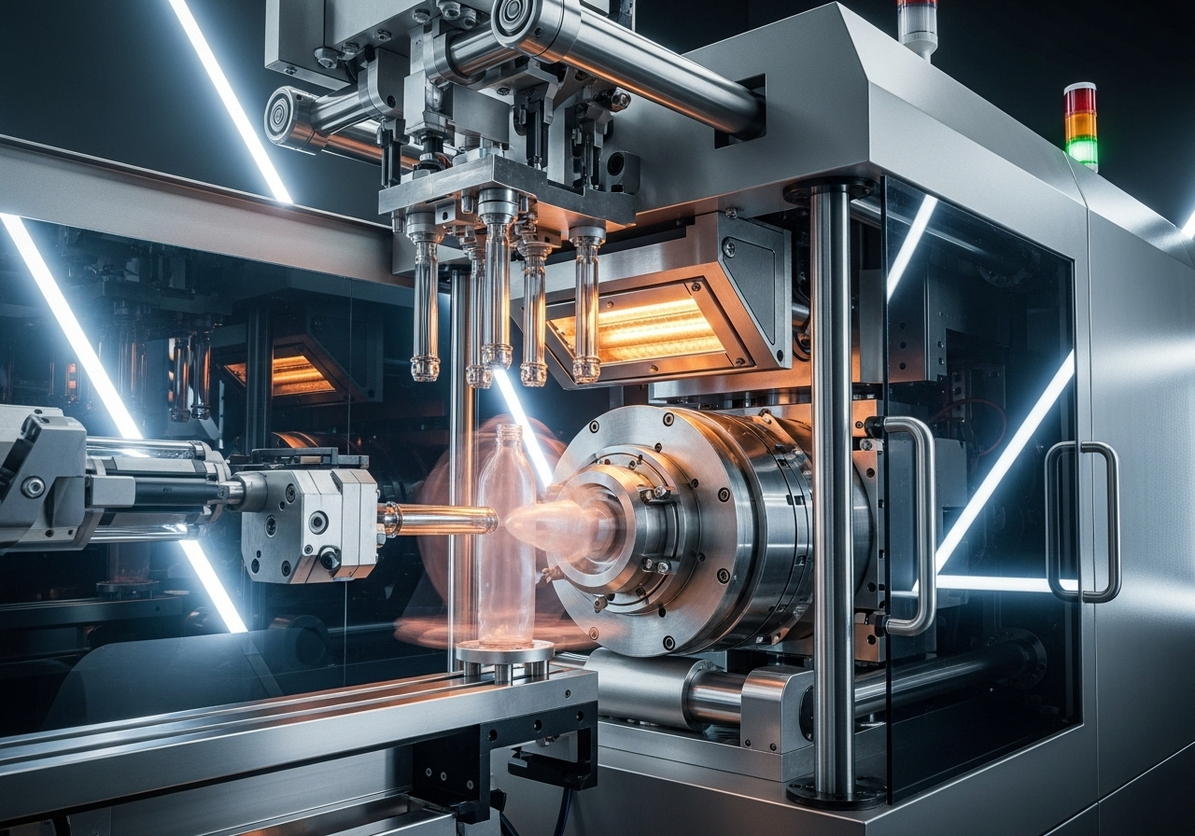
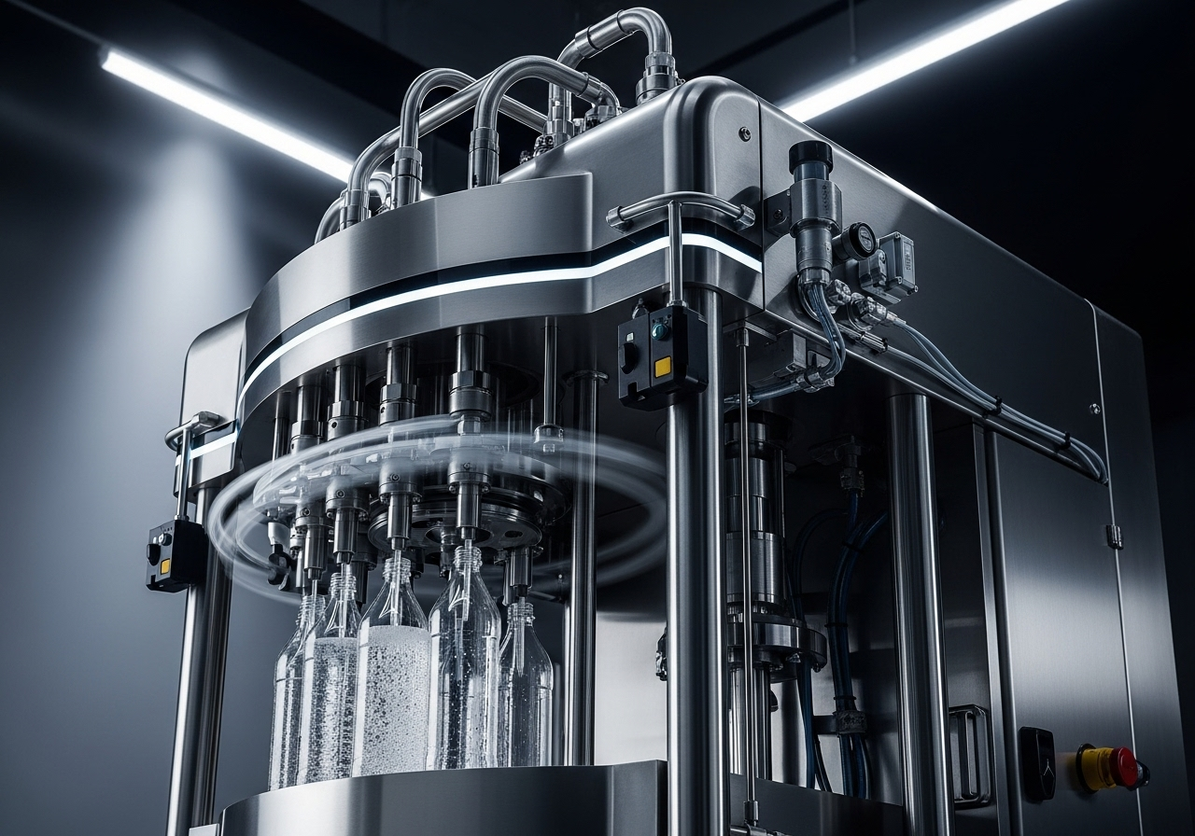
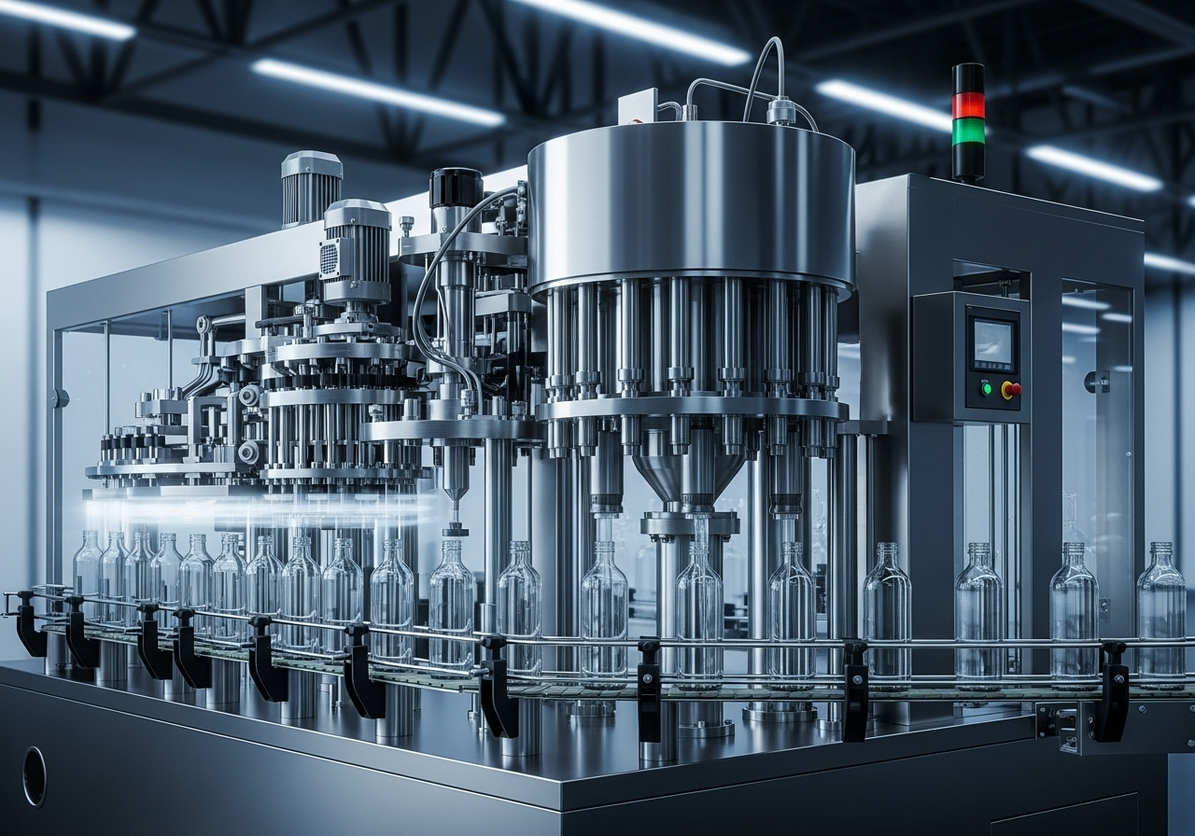
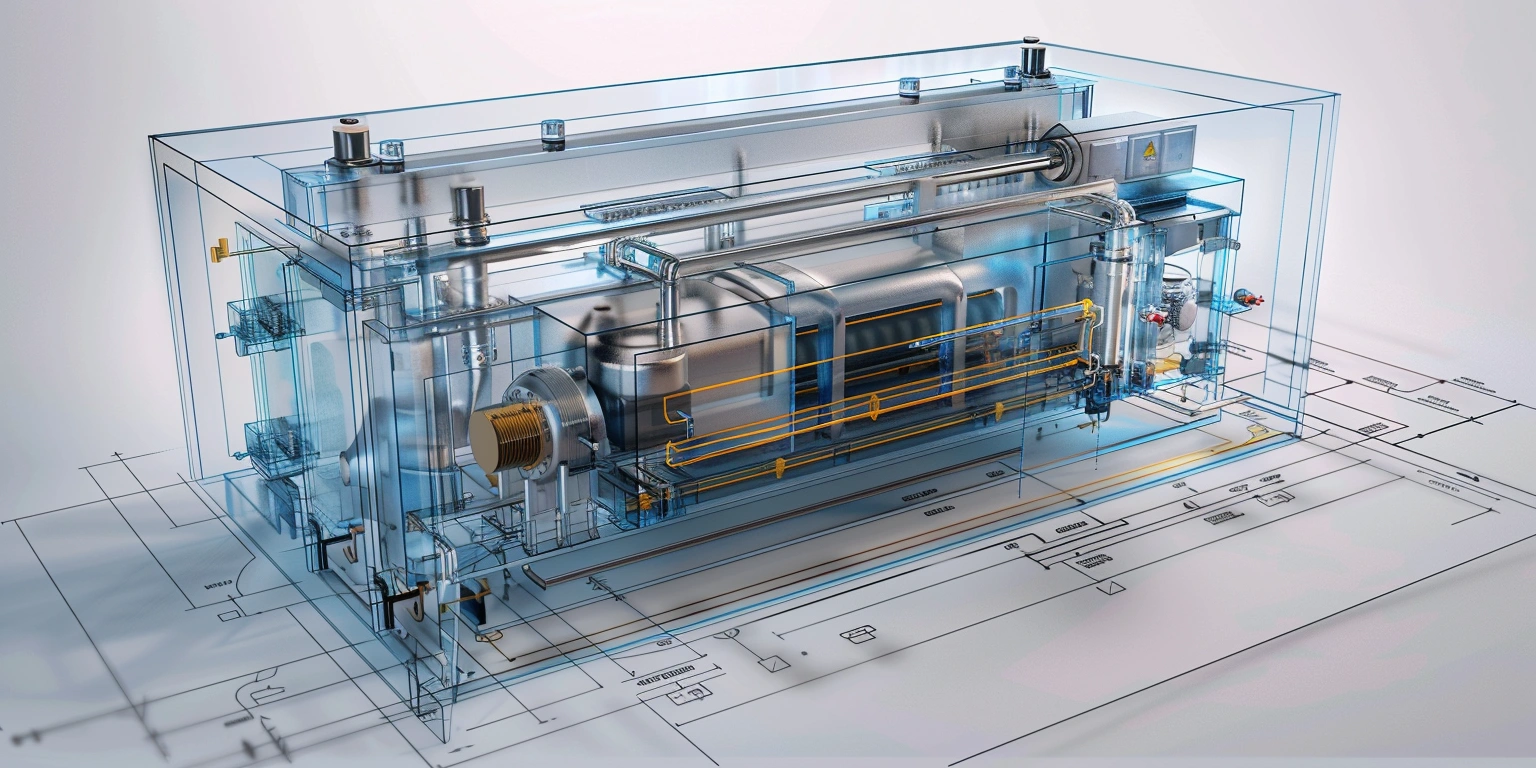
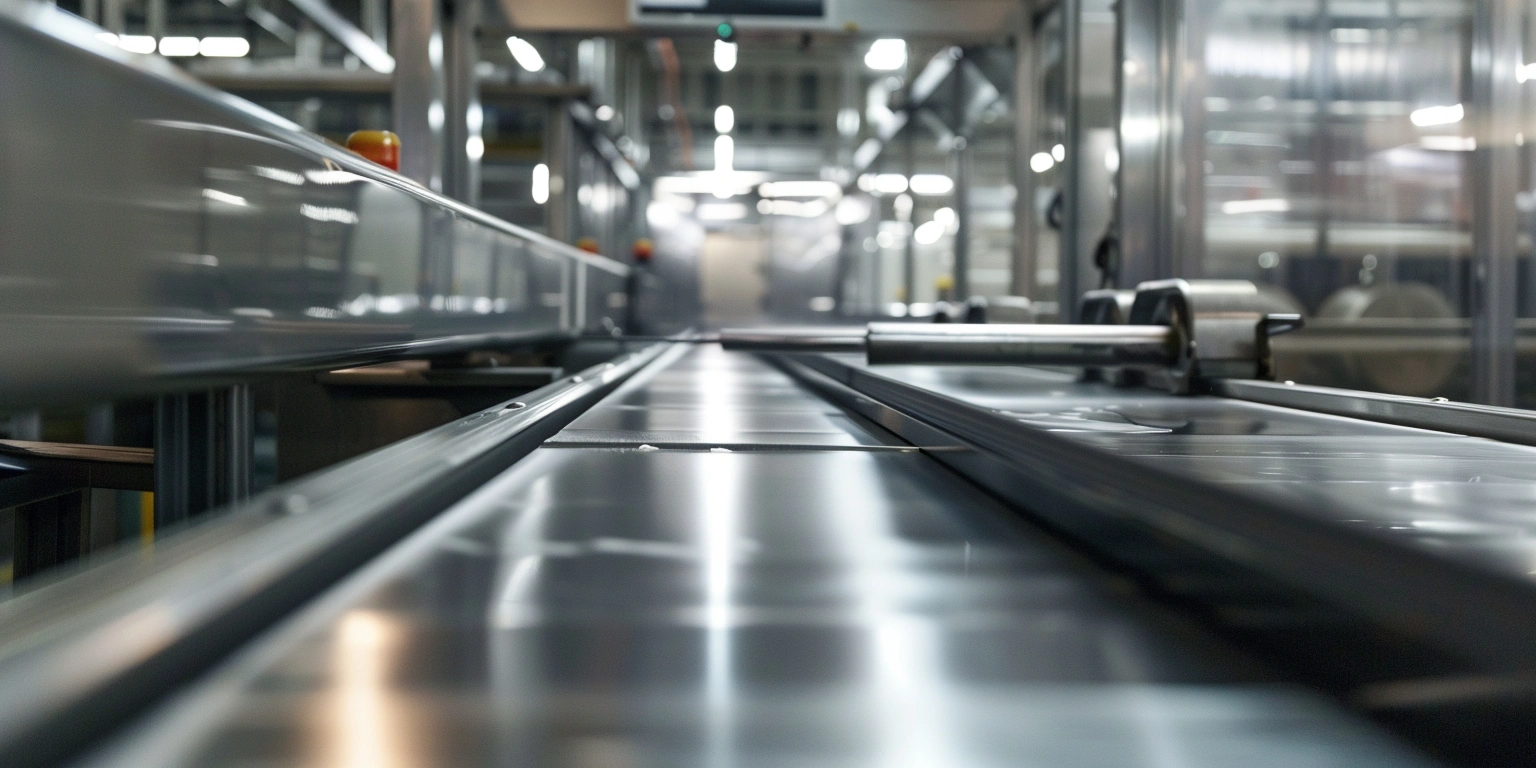
Most ASFL countertop units in this class use an oil‑less piston pump with a typical vacuum level of about −70 to −80 kPa for dry loads and −60 to −70 kPa when moisture management kicks in. Expect 2–4 L/min flow, a 280–320 mm seal bar, and a 2–3 mm single or dual seal track. Heater power lands around 180–250 W. Duty cycles are realistic: plan for 10–20 back‑to‑back seals, then a short cool‑down to protect the heat strip and internal thermal fuse. For Asia, models are available in 220–240 V 50/60 Hz, with 110–120 V variants for other regions.
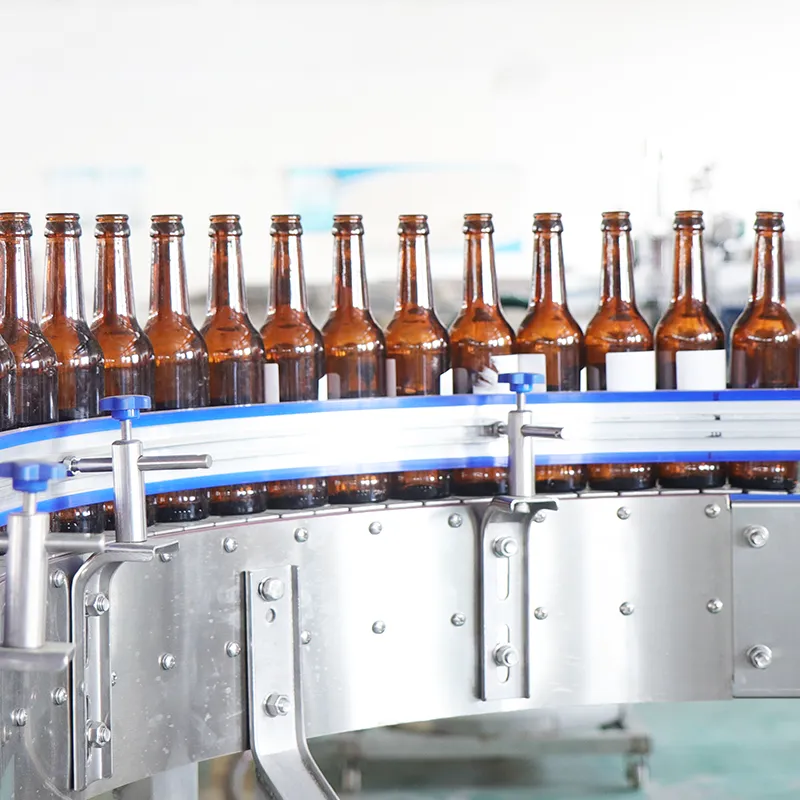
Bag compatibility is the common tripwire. External suction sealers require embossed (channel) film, typically 90–120 microns total thickness. Smooth bags are for chamber machines; if you try them here, air won’t evacuate evenly. If you source commercial vacuum sealer bags, confirm the emboss pattern and thickness spec. For contact surfaces, look for LFGB or FDA declarations—what I’ve seen labeled as a food safe ASFL vacuum sealerealer configuration includes PTFE-coated heat strips and silicone gaskets rated for food-contact temperatures.
Installation and footprint are modest: leave 100–150 mm clearance behind the unit so the lid fully opens and the exhaust path isn’t blocked. Noise sits around 70–75 dB at 1 m—fine for a prep room, but you won’t want it next to a phone station.
Primary Functions Overview
For teams searching how to use food vacuum sealer, here’s the quick map. Auto Vacuum & Seal handles most dry items: insert bag, align in the drip channel, close, and start. Pulse Mode gives you manual control over vacuum—tap to pull, release to pause—then hit Seal when the product looks stable. Seal‑Only lets you make custom bag lengths or re-seal snack packs. A marinade/cycle function alternates vacuum and rest in a canister, handy when time is tight. The accessory port uses standard hoses; the sealmate pro ASFL vacuum sealerealer kit typically includes canisters and a hose adapter so you don’t chase fittings.
On the HMI, I prefer units with a simple bar graph for vacuum progress and a dedicated Wet/Dry toggle. Wet Mode adjusts vacuum thresholds and seal dwell, so you get a tighter seal without boiling juices to the heat strip. The removable drip tray is not just for cleanup—it also keeps the gasket from sitting in liquid, which shortens its life.
If you’ve skimmed other guides like anova vacuum sealer instructions, the flow will feel familiar. The difference in practice is how forgiving the machine is when the operator is in a rush or the bag isn’t perfectly trimmed. Two small habits help: square cuts on bag tops and a quick finger wipe across the inner film lip before loading. It sounds trivial, but it avoids most early seal leaks I see in training.
Food and Beverage Applications
Dry proteins, portioned fish, coffee beans, nuts, and prepped vegetables are straightforward. For liquids—sauces, curries, stews—chill to near 4–8°C and use Pulse Mode or a partial vacuum to prevent boil‑over. For bulk buying in small commercial kitchens, embossed rolls pair well with portion control; embossed film behaves predictably compared with some generic commercial vacuum sealer bags that mix textures within the same lot.
In sous‑vide prep, a consistent vacuum level helps with bag buoyancy and heat transfer. If you plan to seal sharp items (rib bones, dried pasta), add a bone guard or double-bag using a short Seal‑Only pass for the inner layer. For delicate pastries or greens, a gentle pulse, then seal, keeps structure intact without crushing. It’s unglamorous, but it works.
Enhanced Precision and Accuracy?
Two controls matter: how the unit decides when to stop vacuum and how it manages seal energy. Pressure‑sensed stop logic targets a setpoint (say −70 kPa) and ends the cycle when the sensor reads it, which protects delicate foods from collapse. Timer‑based designs are cheaper but less consistent when bag volume varies. For the seal, thermistor or PID‑controlled heaters keep dwell steady across a run, so the first and 15th seals look the same.
If you’ve followed anova vacuum sealer instructions, you’ve seen similar concepts under different names. What I tell operators is simple: the goal isn’t “maximum vacuum,” it’s “enough vacuum for the product.” A ±5 kPa window is fine for most tasks. The moment you chase the last few kPa on a wet product, you start pulling liquid toward the bar—and that’s when cleanup and rework begin.
Key Selection Criteria?
Start with use case. If you’ll seal liquids daily or run long batches, a chamber unit may be the right tool; external suction is efficient for dry items and occasional wet work with chill and pulse technique. If your team is still learning how to use food vacuum sealer functions, pick a model with a clear Wet/Dry toggle and a vacuum progress display—operators mirror what they can see.
Next, look at spare parts and maintenance. You want easy access to the PTFE tape, heat strip, and silicone gasket. A typical gasket keeps its seal for 6–12 months under moderate use; sooner if exposed to heat or oil. Check whether a kit—like the sealmate pro ASFL vacuum sealerealer kit—bundles compatible canisters and hoses, so you don’t juggle fittings from three brands. Noise, footprint, and duty cycle should match your bench layout and service windows.
Finally, training and documentation. Clear pictograms on the lid help more than a thick manual. If a team is transitioning from guides such as anova vacuum sealer instructions, align terminology during onboarding—call out what’s the same and what’s different. And be honest: this class of machine isn’t a cure‑all. It does everyday prep well. If your needs shift to heavy wet sealing or 8‑hour continuous runs, re‑evaluate the spec and consider stepping up a category.