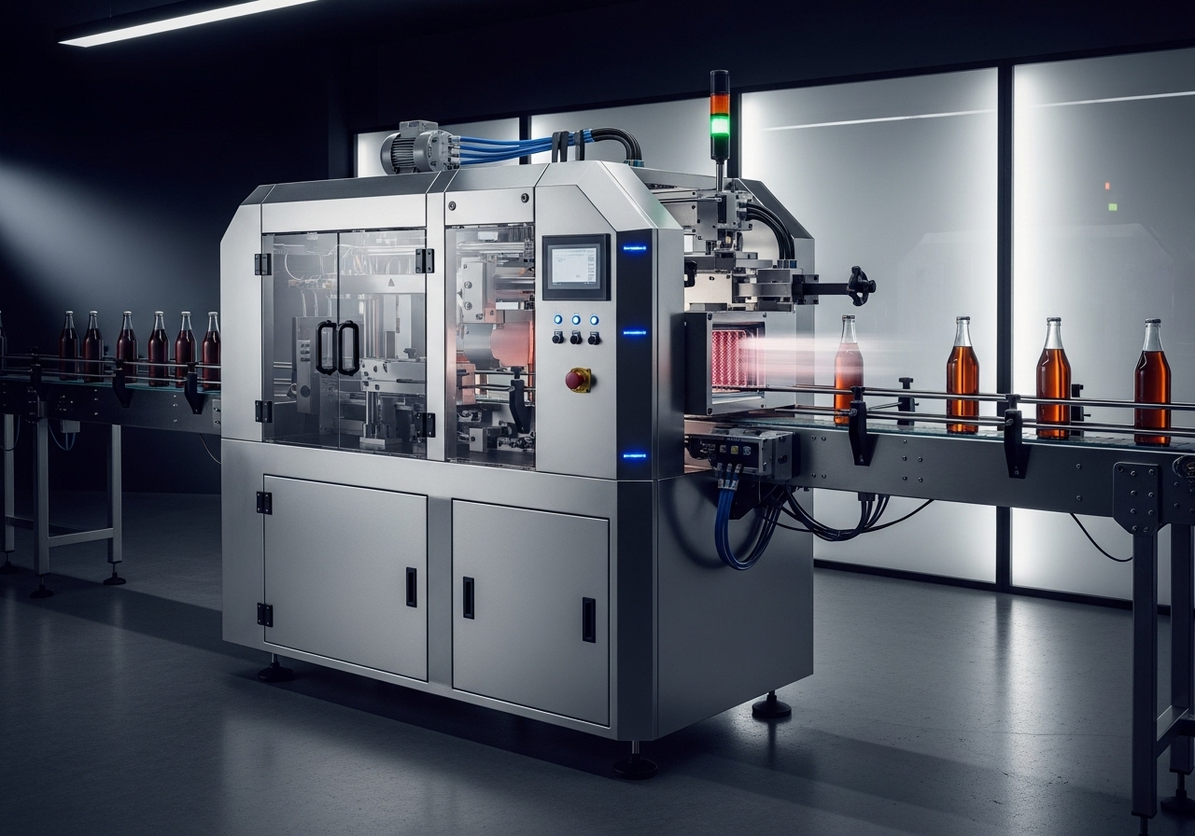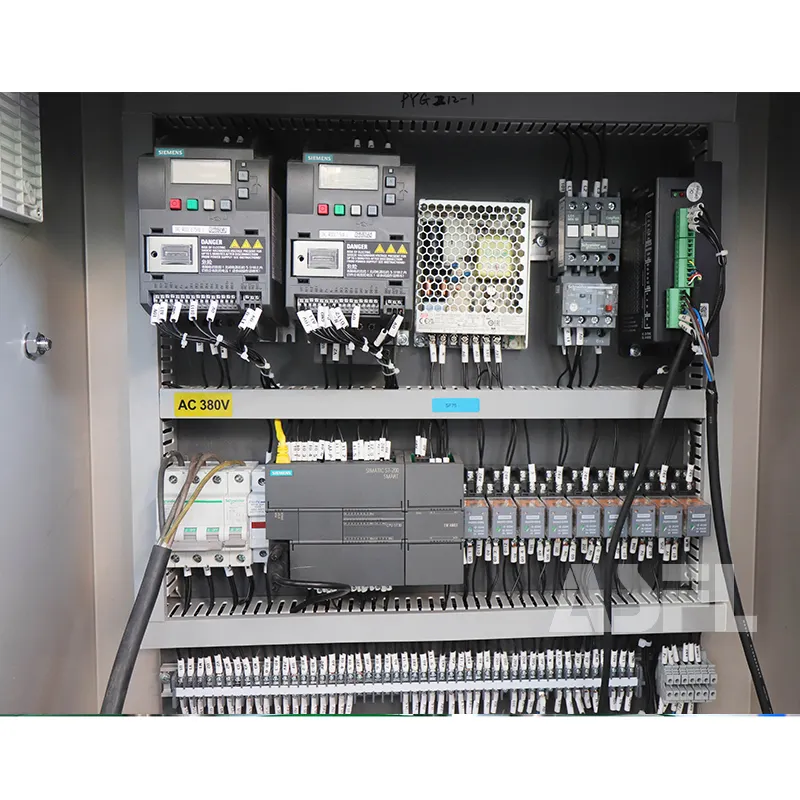
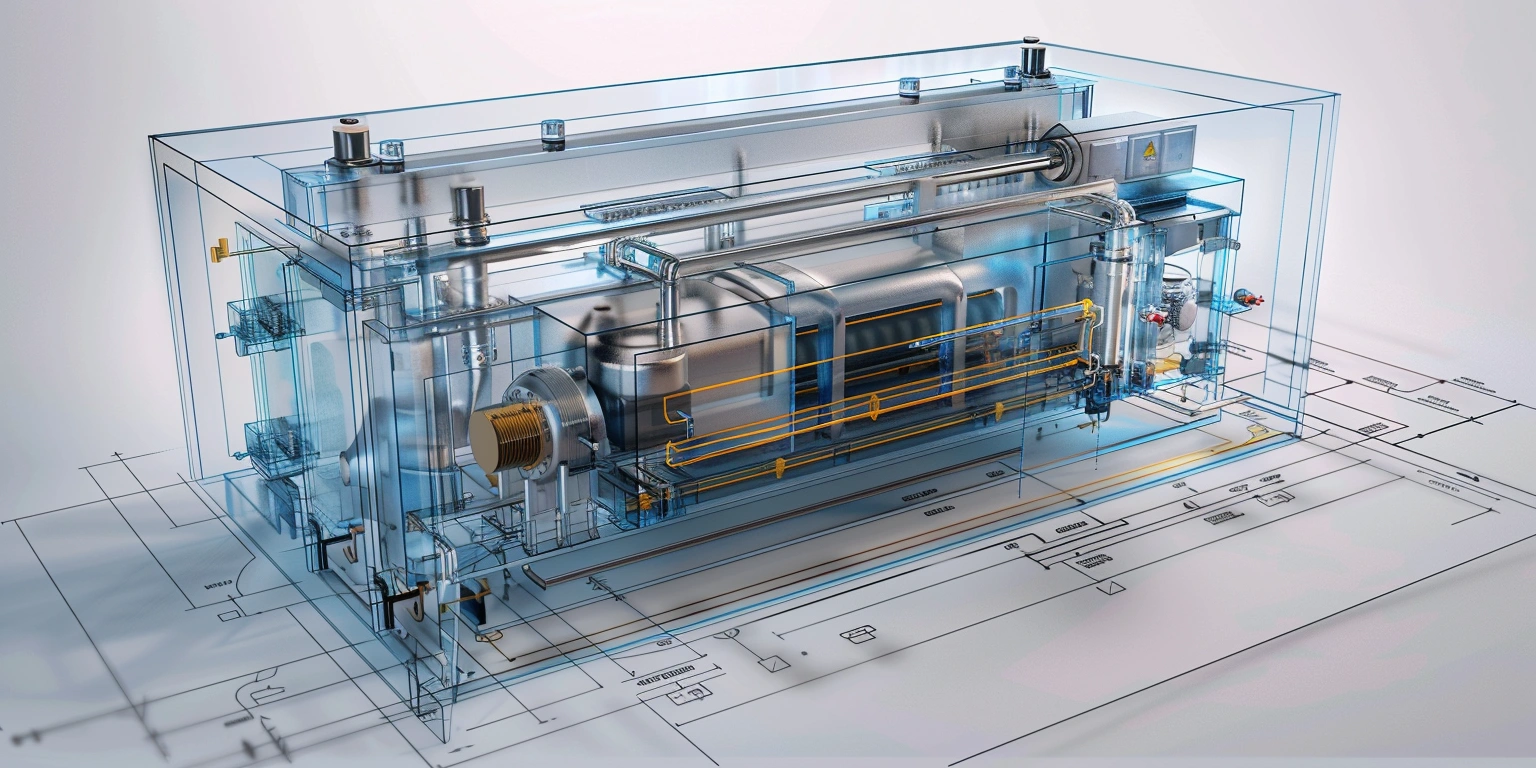

“We bought the fastest unit on the catalog, and it still backs up at dinner rush,” the operations manager told me over the clang of pans in a central kitchen in Southeast Asia. I nodded because I’ve heard versions of that sentence dozens of times. The brand on the machine didn’t matter; the way the team used it did. Based on field visits and client feedback with ASFL, the pattern repeats: fast doesn’t guarantee flow.
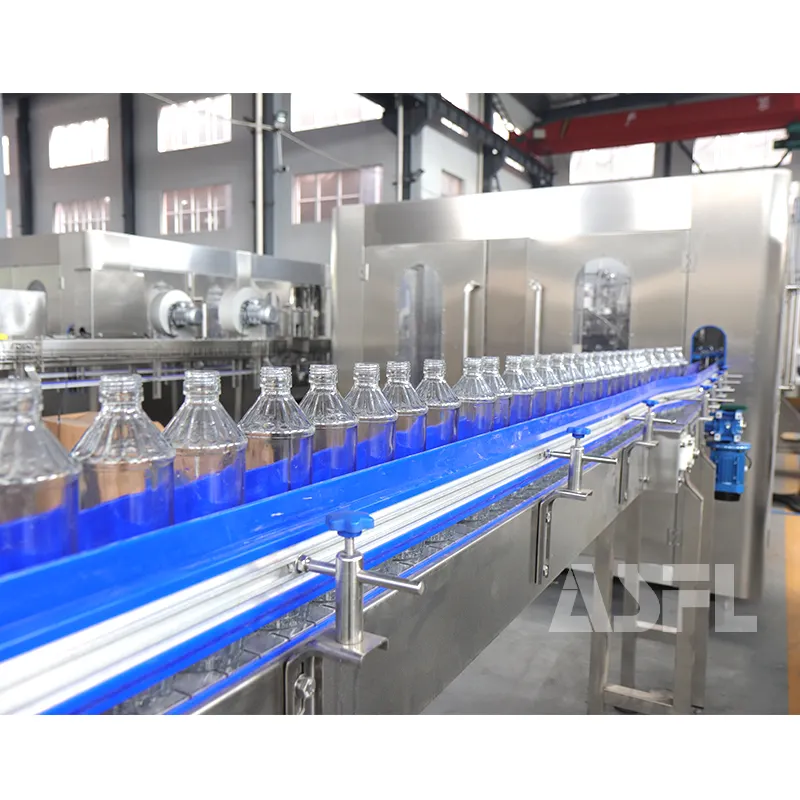
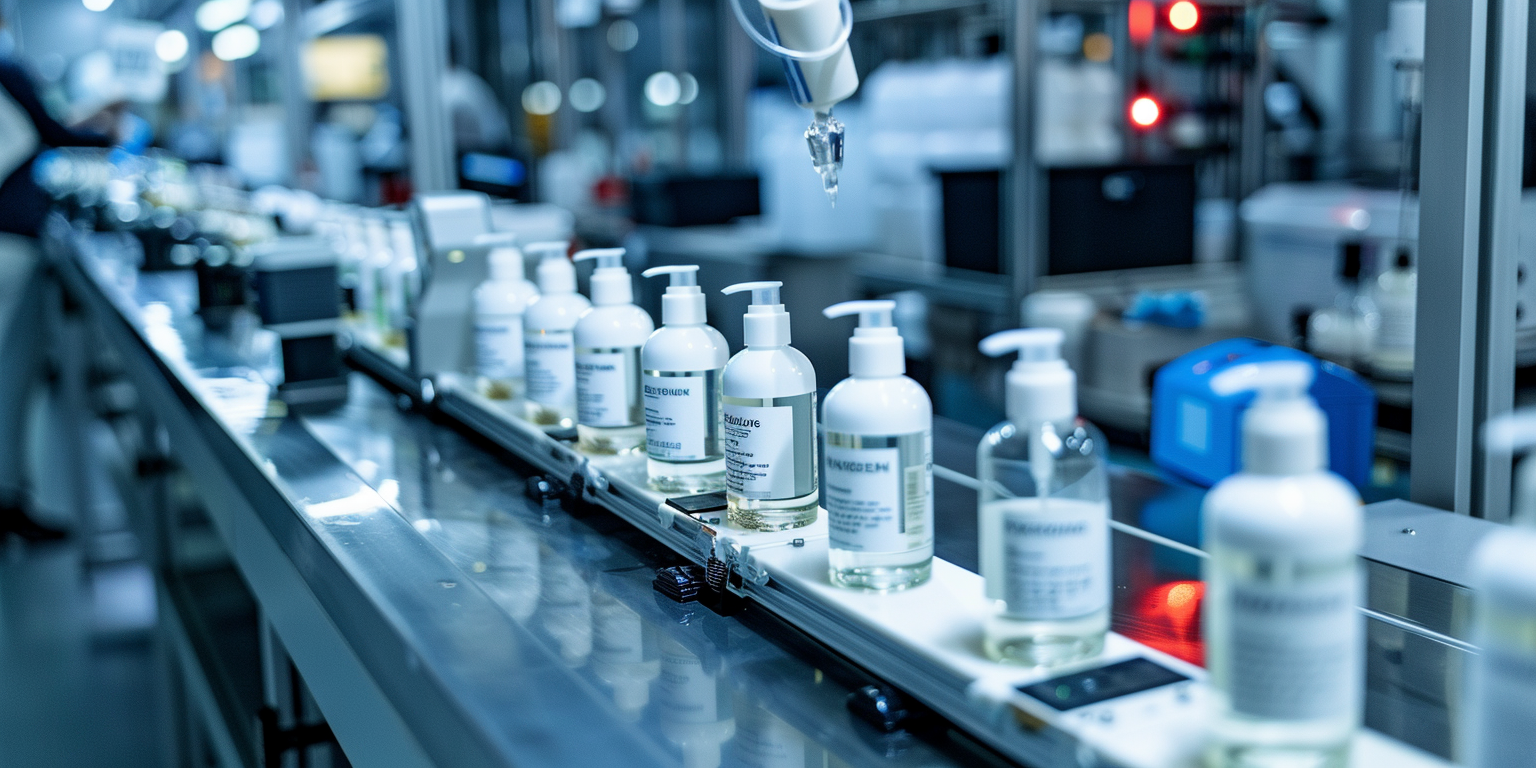
In kitchens serving 600–1,000 meals a day, vacuum sealing isn’t just a backroom task; it’s the gatekeeper for freshness and shelf life. Yet around 20–30% of sealing-related stoppages we’ve logged come from small, avoidable issues—wet bag lips, oil on the seam, or the wrong bag thickness for protein-heavy packs. When seals fail, it’s not just a bad seam; it’s wasted prep and lost confidence.
Here’s the uncomfortable truth: you can’t buy your way out with speed alone. You fix flow with consistency, fit-for-purpose hardware, and habits that hold up under pressure. Let me walk through what actually causes the stalls, the hybrid approach that turned the tide, the gritty first week, and the plain-English mechanics behind vacuum sealing.
What's Actually Causing the Downtime
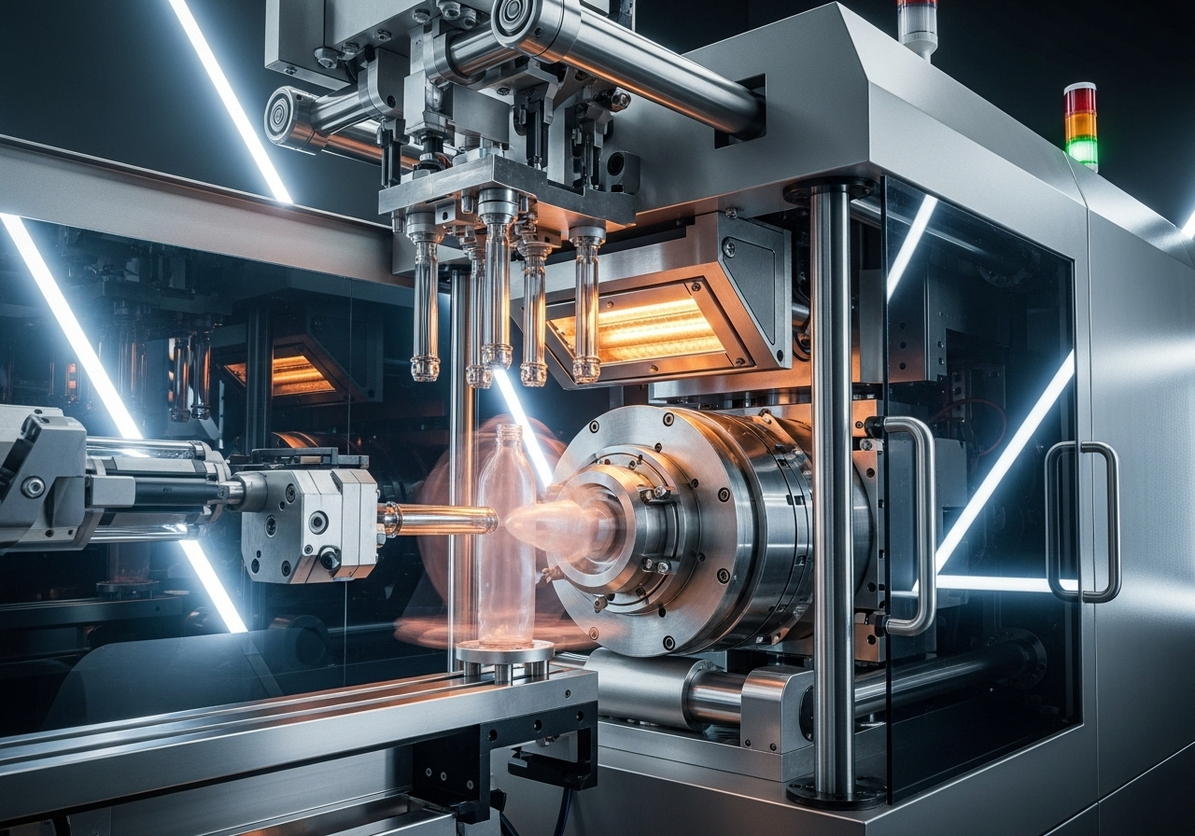
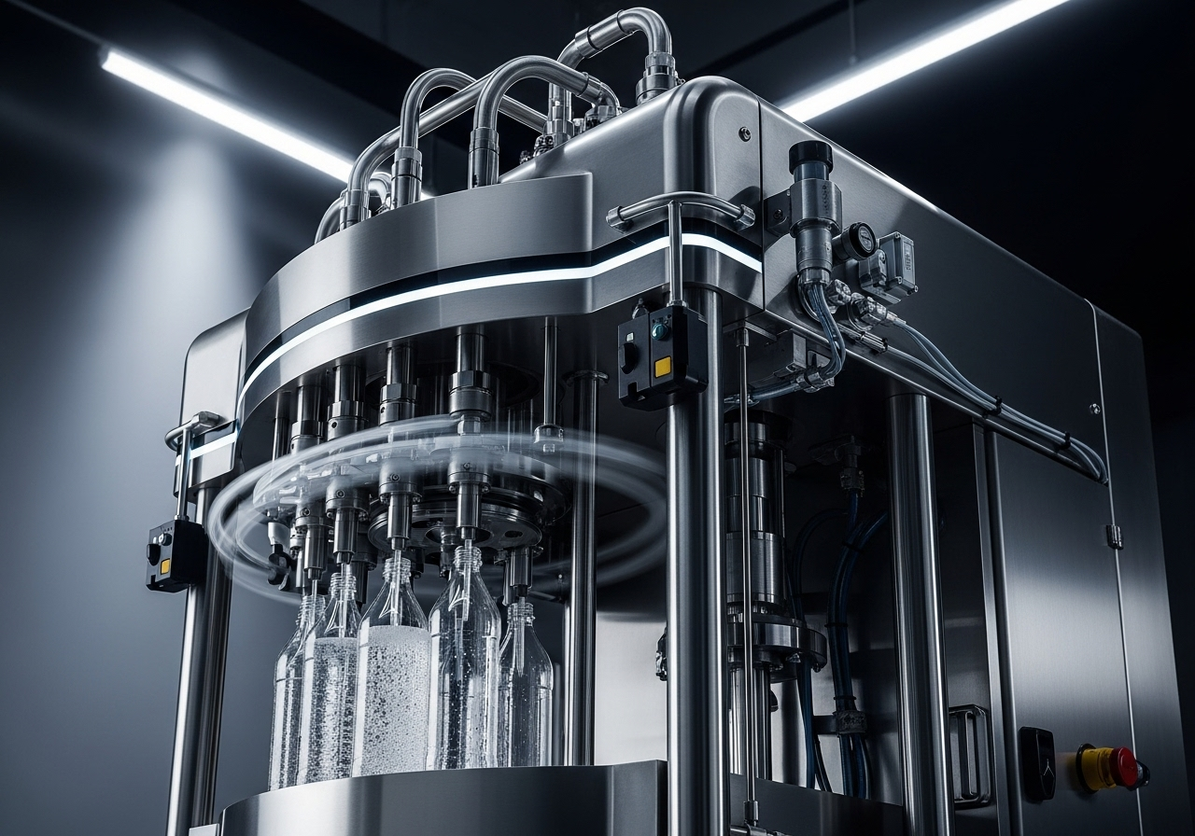
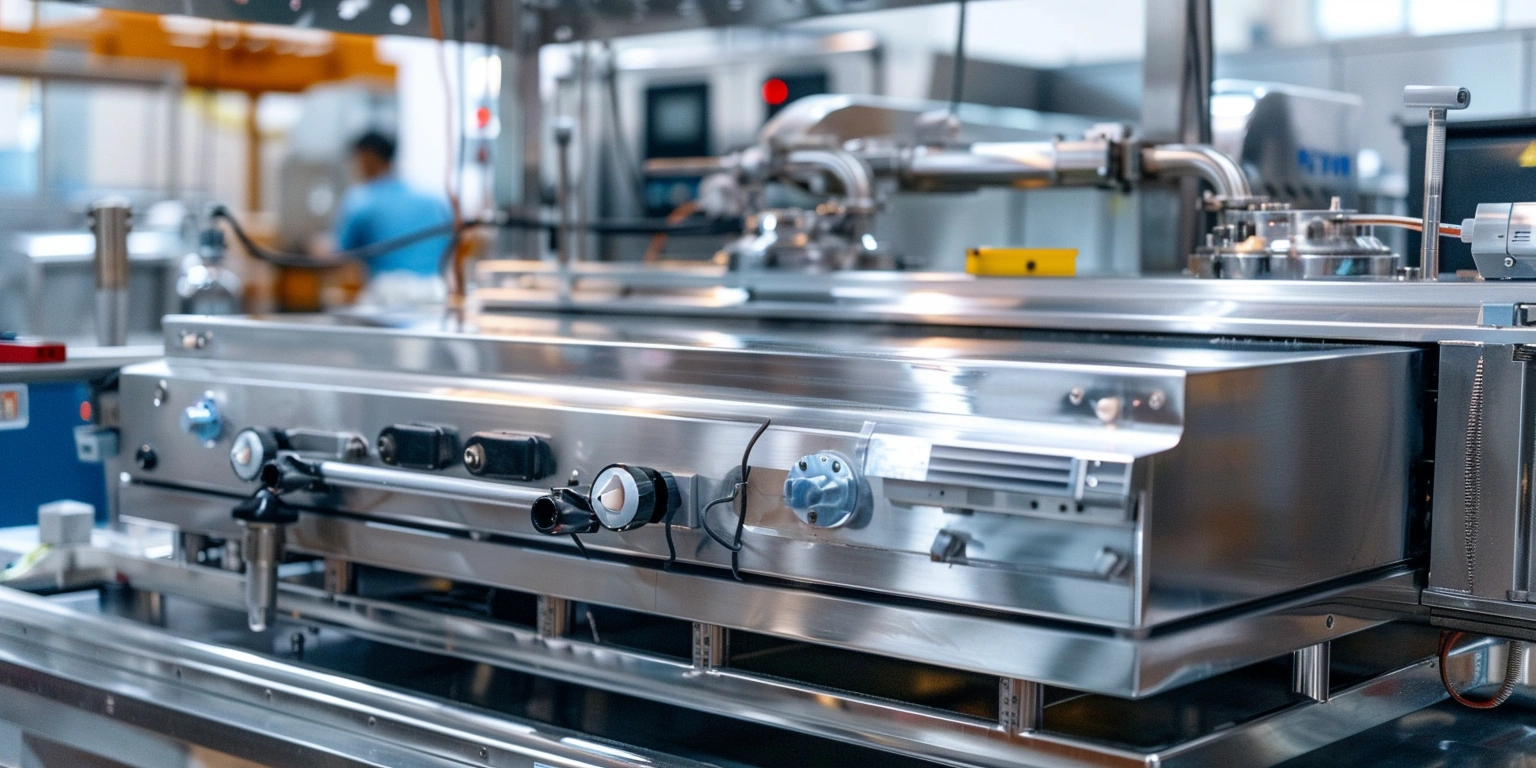
In the rush of a dinner service, a restaurant vacuum sealer becomes the heartbeat of prep. But the real bottlenecks hide in the basics. Moisture on the bag lip accounts for roughly 30–40% of rework in protein packs; a single drop of marinade creeps under the seal and weakens it. Oil from fatty cuts coats the sealing bar, and if crews don’t wipe it every 40–60 minutes, seam strength drifts. We’ve also seen OEE hover around 65–70% when bag thickness is mismatched—70–90 microns for chunky sous-vide portions is often asking for a struggle; 100–120 microns handles edge cases with fewer retries.
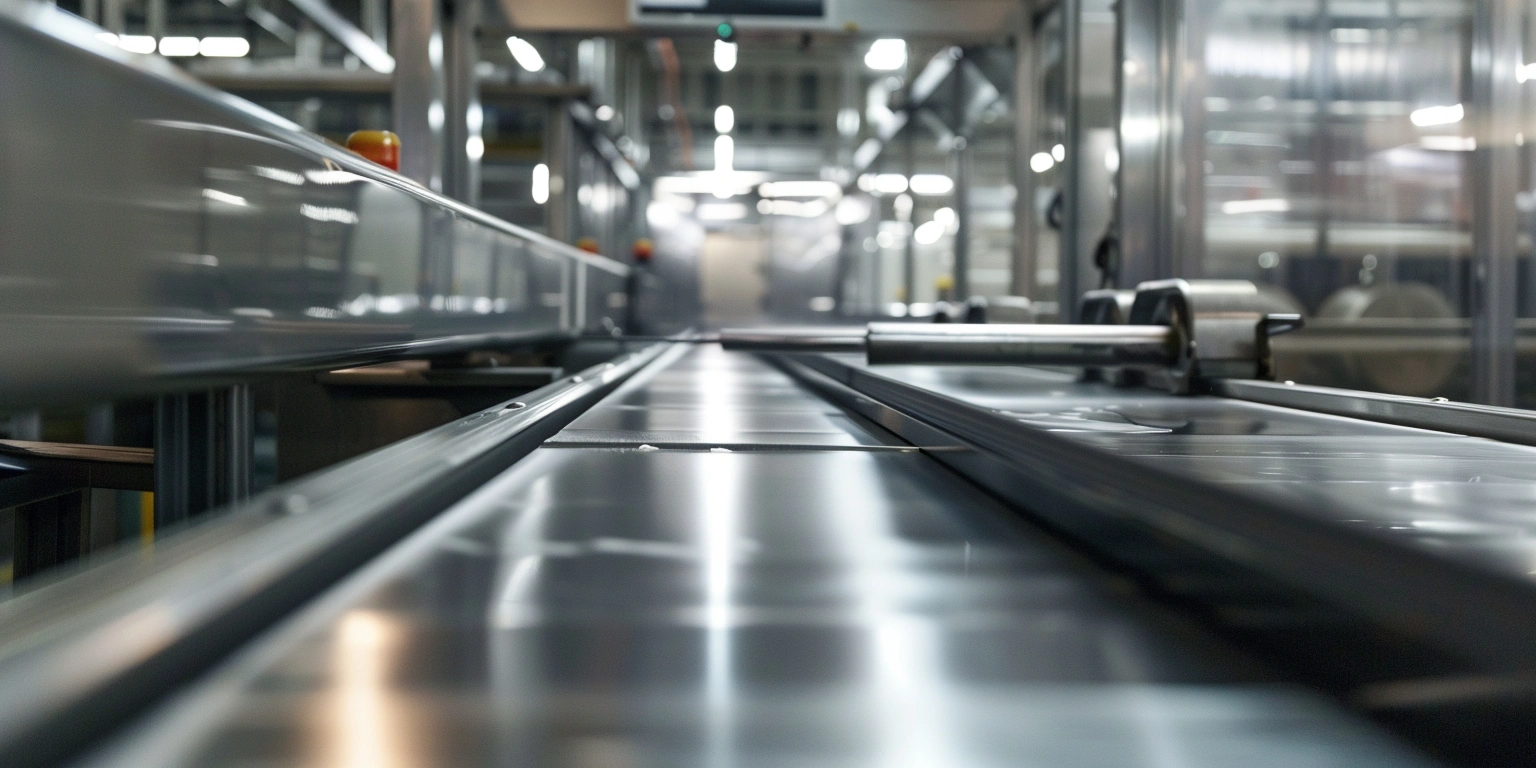
Then there’s the pump cycle. On busy lines, an 8–12 second vacuum cycle feels long, so teams shorten it. The result? Inconsistent vacuum levels and undercooked seals that fail under chill or transport. Over a week, these little decisions stack up. The line stops for a minute here, and five minutes there. It doesn’t sound like much until you realize you’ve lost 45–60 minutes a shift to micro-stoppages that never make the board.
One more culprit: heat distribution on older sealing bars. With uneven temperature across the bar, the seam looks okay, but load testing reveals weak spots. We’ve seen defect rates in the 5–8% range on mixed protein packs when teams push cycle speed without checking bar uniformity. It’s not a scandal; it’s a setup issue. Addressable, but not with a bigger motor alone.
The Hybrid Approach
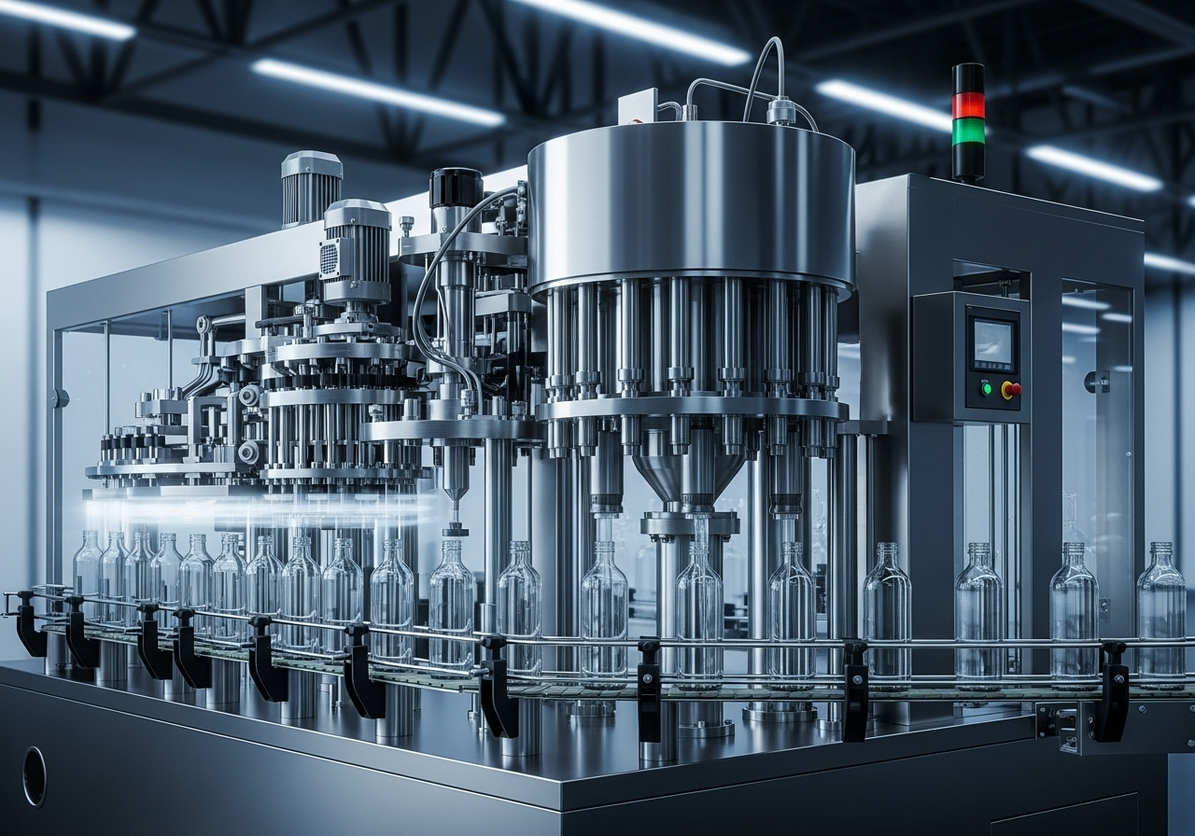
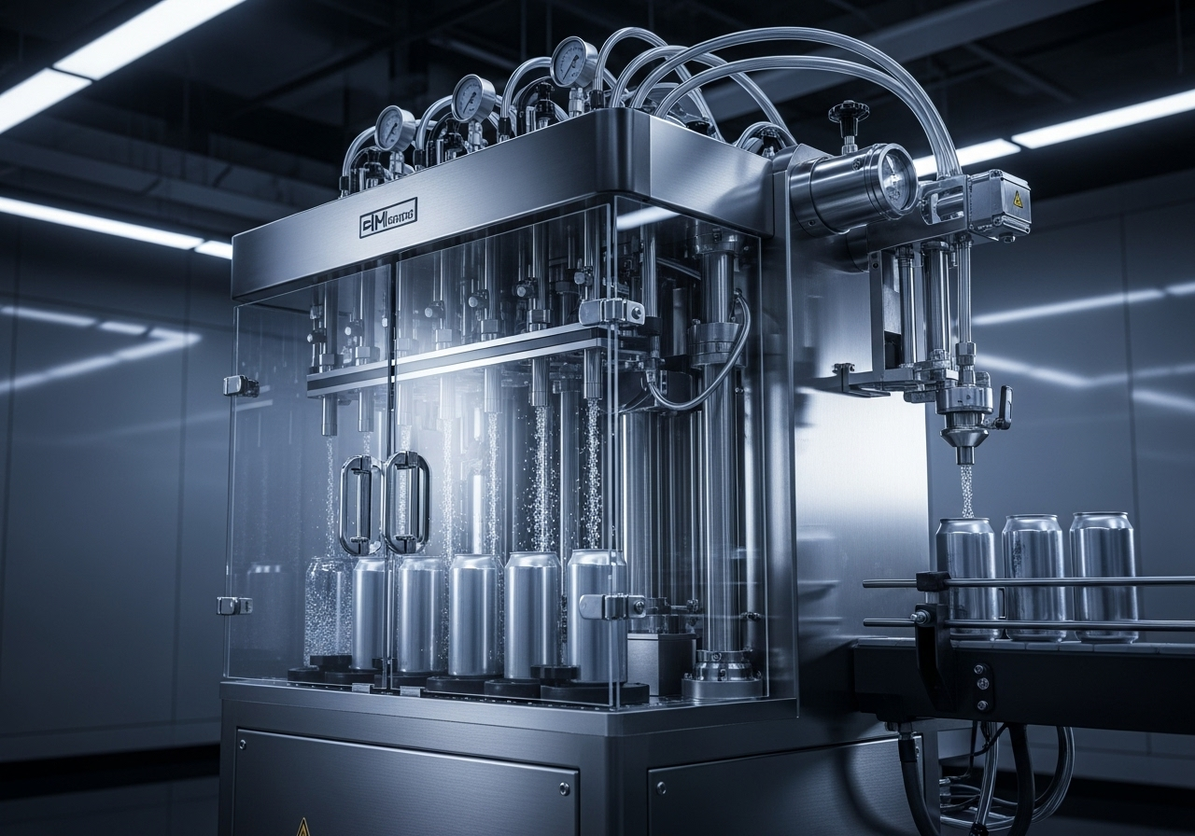
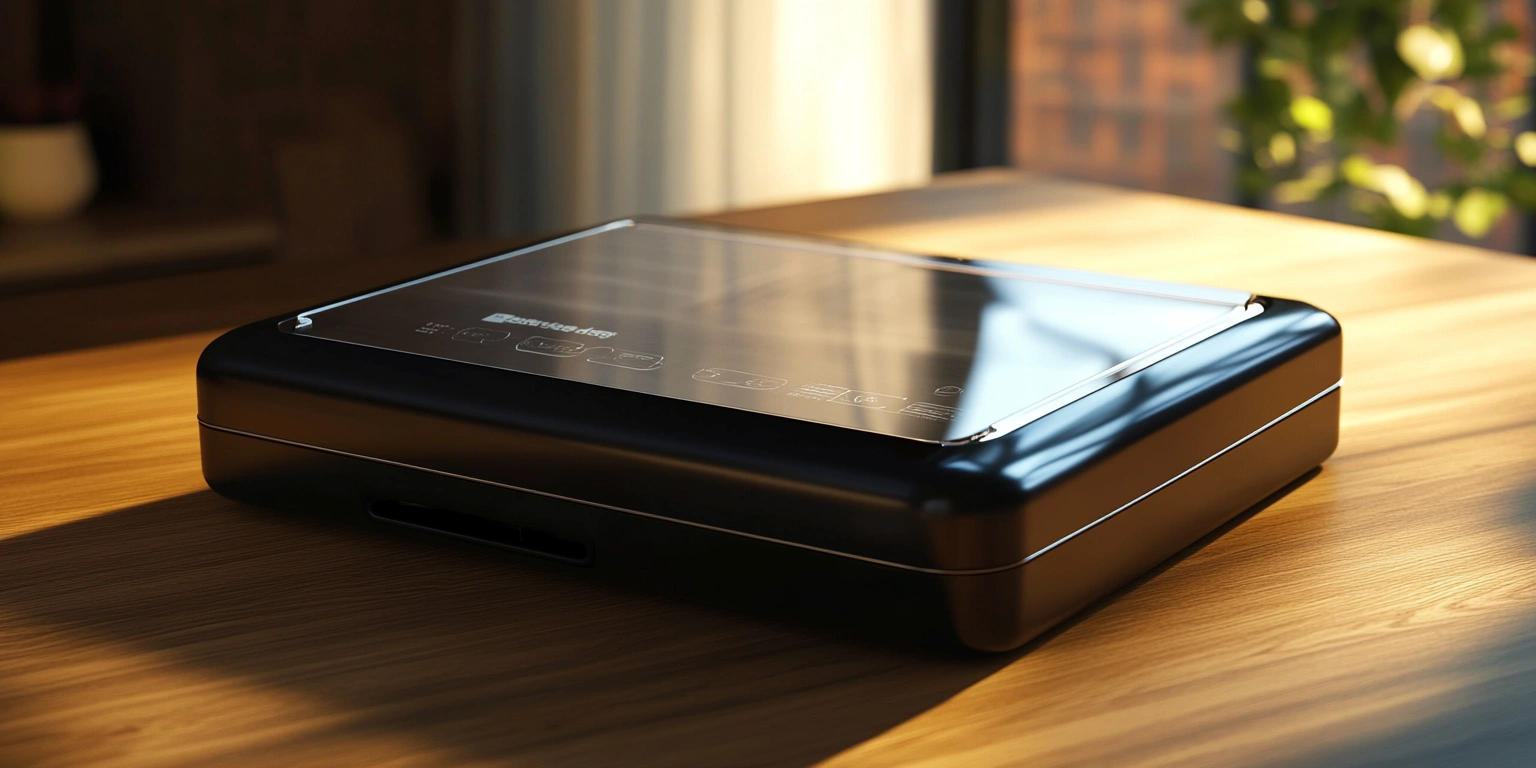
Here’s where it gets practical. Teams that blend a dual-chamber base with targeted handheld sealing see fewer clogs at the busiest hours. We’ve seen kitchens keep a dual chamber rig for high-volume batches while deploying a cordless ASFL vacuum sealerealer for odd-sized pouches, quick reseals, and on-the-spot portioning. The handheld isn’t a replacement; it’s a pressure valve. Through dinner peaks, batch throughput stabilizes—by our notes, the sticky rework piles went down 20–25% and the line felt calmer. Not perfect, but meaningfully smoother.
Why not just go all-in on the biggest bench unit? Because variance wins the day. A hybrid setup gives operators a way to handle outliers without stalling the main cycle. It’s a trade-off: you accept slightly slower headline speed in exchange for steadier flow. In real kitchens, that trade pays back in fewer interruptions and better product consistency. The key is rules of engagement: the dual chamber handles standard bags and core SKUs; the handheld is for everything that would otherwise cause a stop.
Week One: What Actually Happened
Let me back up to a recent rollout in an Asian commissary serving five restaurants. Day one was messy. Operators treated the handheld like a toy and the bench unit like a race car. We ran a short workshop—30–45 minutes—on bag handling, lip drying, and seal checks. We also set micro-habits: wipe bars every 45 minutes, swap out a bag that looks wrinkled rather than fight it, and log any cycle shortened under 9 seconds for review. By day three, rework trays were smaller and the evening bottleneck moved from sealing to packing, which we expected.
We also had an honest hiccup. The local team called the bench machine a mesin vacuum sealer and assumed the same cycle rules applied to all SKUs. They didn’t. Chunky stews needed a different vacuum draw than lean fish packs. We created a simple recipe card: draw 80–85% for liquids, 90–95% for solids, seal dwell 0.8–1.1 seconds. With that, under-seals dropped and the team stopped guessing. Practical, not perfect.
By the end of week one, logs showed fewer micro-stoppages—down by roughly 30–40 minutes per shift. Not magic. The crew earned it with small changes. The manager’s words said it all: “It’s calmer. We still get stuck sometimes, but now it’s on us, not the machine.” That’s progress you can build on.
How It Actually Works (Plain English)
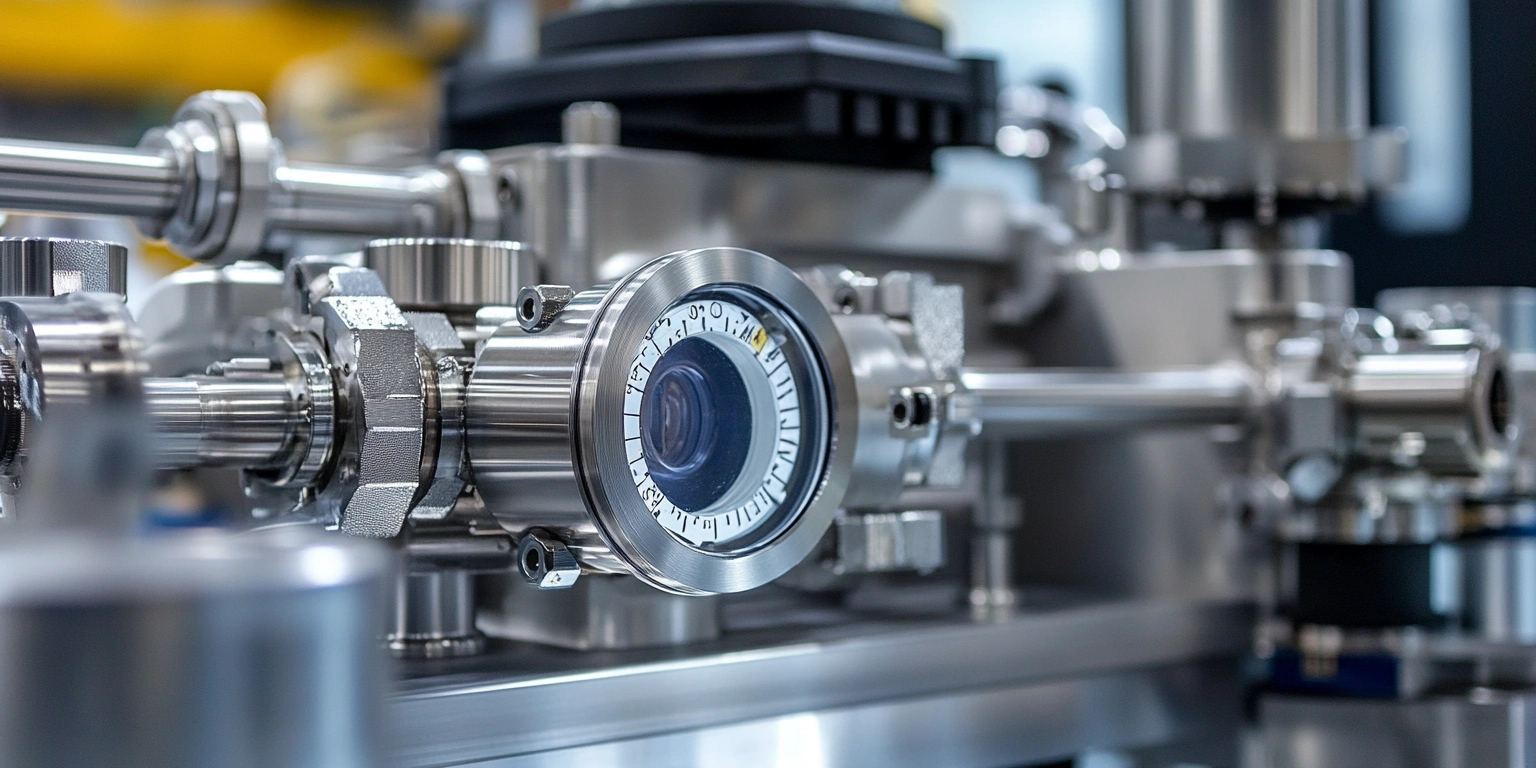
Vacuum sealing is simple on paper: you pull air, apply heat and pressure, and let a seam set. In practice, three variables make or break your day: vacuum level, dwell time, and bag material. Think of vacuum level as the tightness of a hug—too loose, food shifts and leaks; too tight, liquids boil and make a mess. Dwell time is how long you hold that heat; shorter than 0.6 seconds and seams are brittle, longer than 1.2 seconds and you risk warping. Bag material matters more than most teams realize; 100–120 microns gives you breathing room on heavy loads, while 70–90 works for light, flat items.
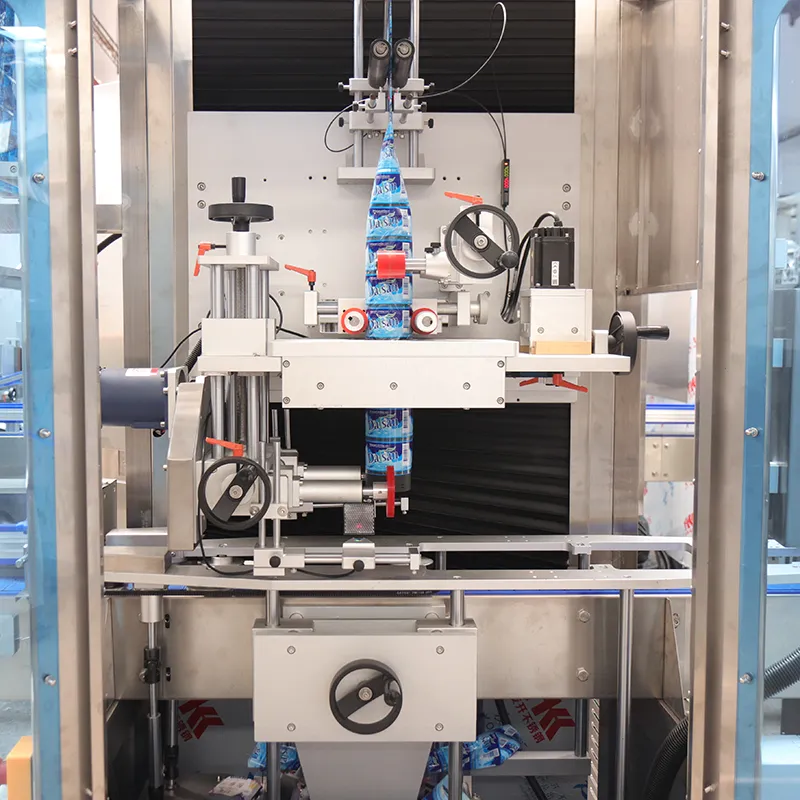
People often ask, “how do you use a vacuum sealer in a way that keeps pace?” Here’s a quick, realistic sequence: load bag with controlled fill height; wipe the lip dry; position it flat; pick the right recipe (vacuum % and dwell); check the first three seals with a gentle pull test; and don’t change two parameters at once. On dual-chamber rigs—like a dual chamber ASFL vacuum sealerealer—alternate chambers to keep rhythm and avoid operator idle. On handhelds, keep the nozzle clean and watch for pocketed air near chunky cuts.
Now, about heat and pressure. Think of the sealing bar as a narrow pan: even heat cooks evenly. If one edge runs cooler by a few degrees, that edge becomes your weak link. Teams that add a quick bar-uniformity check each shift keep weak seams down—our notes say defect rates drop from the 5–8% range to closer to 2–4% when bars are even and lips are dry. It’s not perfect science in a kitchen, but it’s practical science.
Here’s the last point, and it’s a sales manager’s confession. No single machine fixes process habits. The best outcomes we’ve seen—whether with a hybrid based on ASFL’s kit or a basic bench unit—come when crews own the recipes and the wipe-down routine. If you remember one thing, remember this: consistent habits beat raw speed. And yes, if you want a hand tailoring those recipes, ASFL is happy to share what we’ve learned the hard way.