It’s 11:40 PM on a Sunday and the vacuum line has that tired hum—you hear it when the pump is hot, operators are on their second energy drink, and we’re still chasing the last pallet. The OEE board says we should be fine. The pile of leakers says otherwise. I’ve learned the hard way that vacuum packaging isn’t about raw speed; it’s about control. As **ASFL** teams often see, when seal integrity and vacuum draw fight each other, the stopwatch doesn’t matter.
On nights like this, I don’t care what the brochure claims. I care if the pouches hold. I care if the seal bar stays clean, if the film doesn’t curl, and if our changeover doesn’t eat the next hour. The crew cares too—because the clock is louder near midnight.
This isn’t a hero story. It’s a practical one about the physics under the hood, the little adjustments that actually stick, and the few we had to undo the next shift.
How It Actually Works (Plain English)
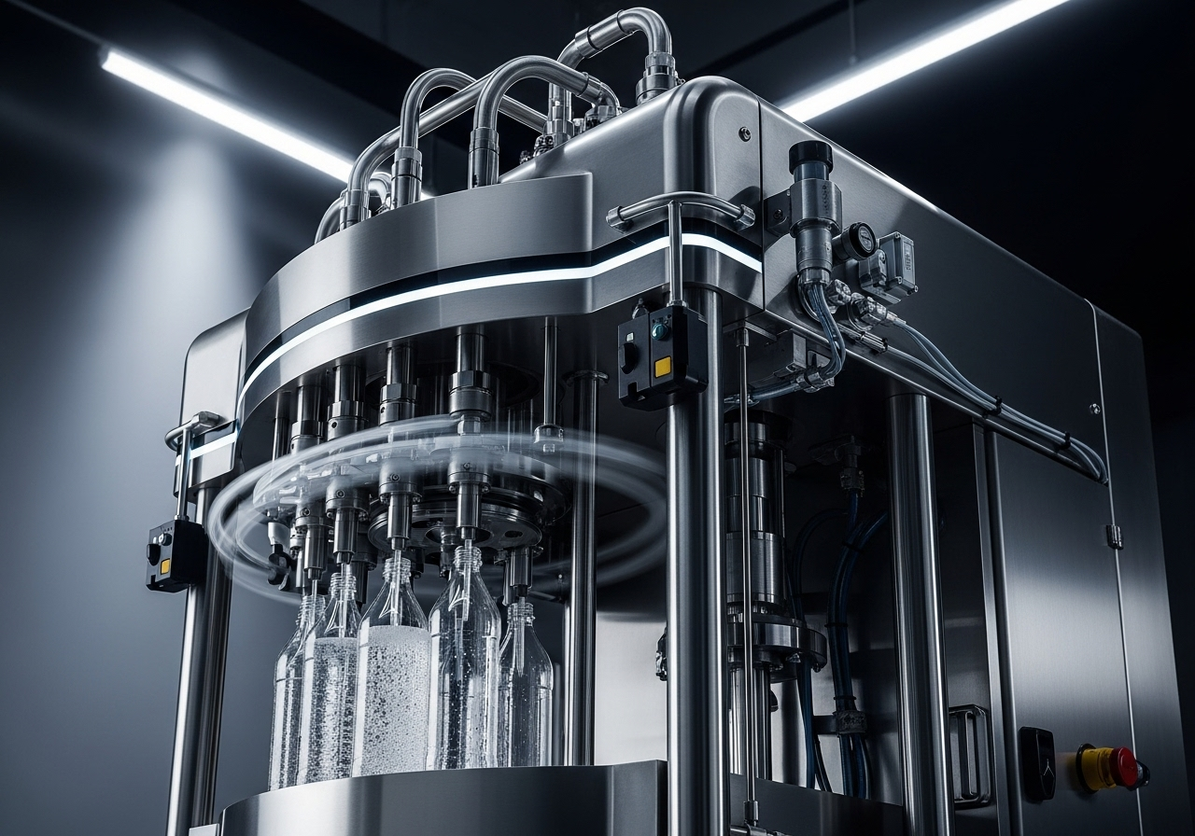
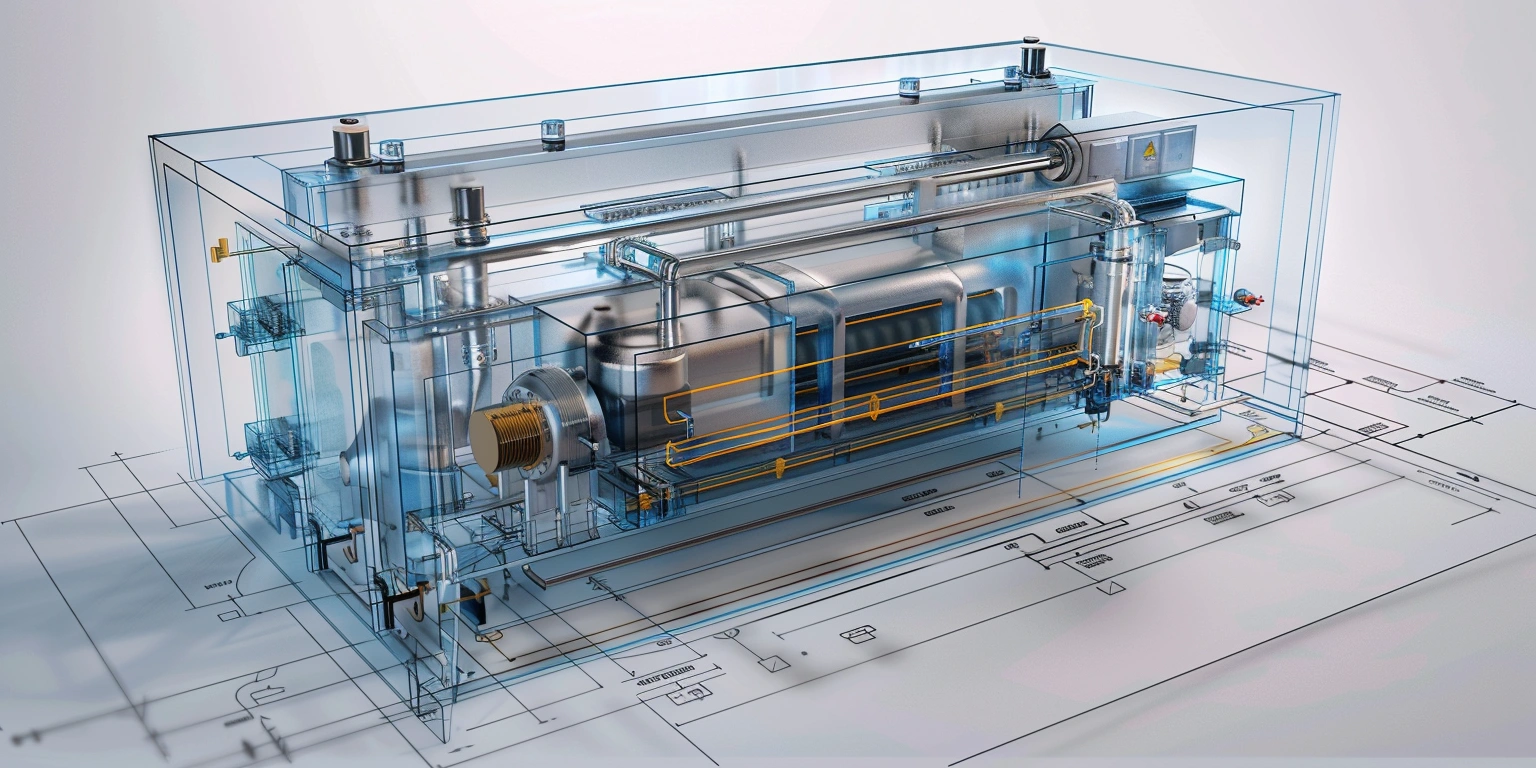
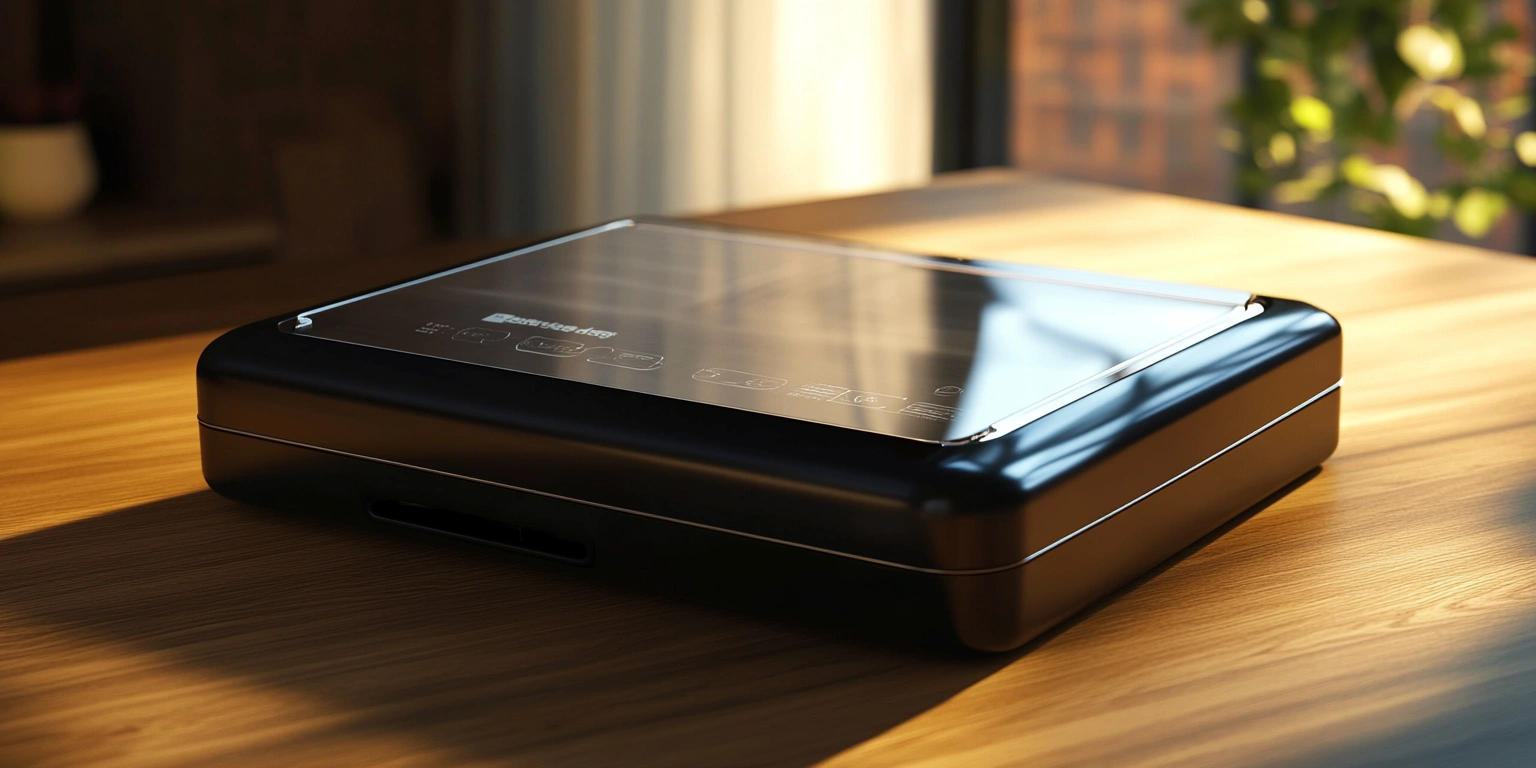
Vacuum packaging is a dance between vacuum draw, seal heat, dwell time, and cooling. Think of it like making a good crimp on a cable: too soft and it slips, too hard and it cracks. On a typical food line, the chamber pulls down to roughly −70 to −90 kPa, the seal bar heats to a set range, and the dwell holds for 0.8–1.2 seconds while pressure bonds layers. Then you need just enough cooling to keep the seam from relaxing. A consumer unit like the foodsaver v4400 2-in-1 vacuum sealer machine shows the idea; a plant system just multiplies the variables and consequences.
Moisture near the seal zone is the spoiler. Even a thin protein smear can knock seal strength down by 20–30% in our pull tests. Thicker films (say 70–90 microns for retort) need more energy and time than lighter 50–60 micron pouches. You can crank temperature, but there’s a catch: dwell and temperature trade with cycle time. Push them too far and your throughput stalls, push too little and your rejects climb. There’s no setting that wins every day; product and ambient conditions keep moving the target.
I get why people Google “how to use food saver ASFL vacuum sealer” when they’re troubleshooting at home, but in production we write recipes for every SKU and size: vacuum setpoint, bar temperature window, dwell and cool times. The recipe is the truth on the floor. When it drifts, the line tells you—sometimes with a hiss, sometimes with a wet bin of rework.
Where Does the Real Bottleneck Hide?
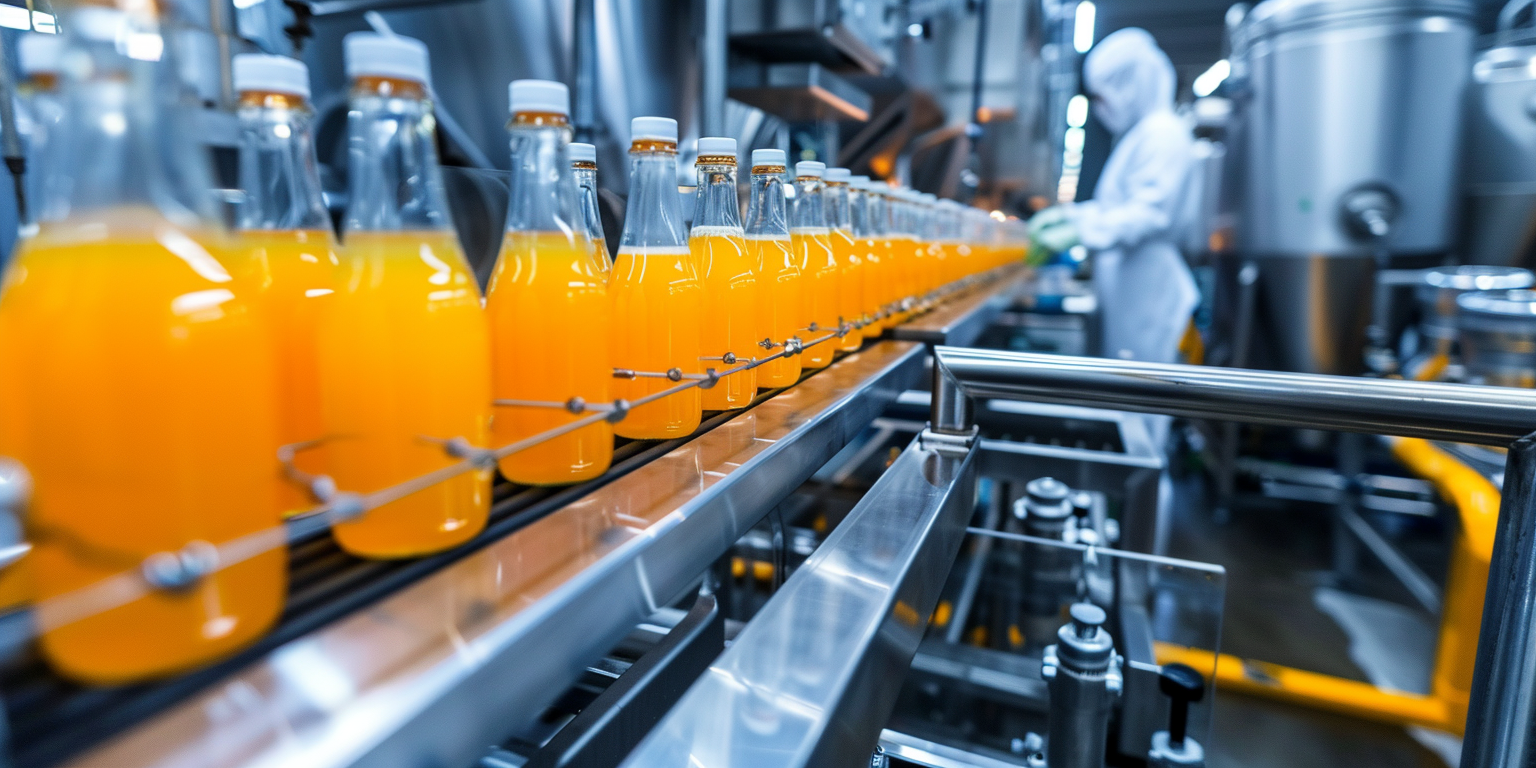
When we mapped our downtime, the vacuum pump wasn’t the villain. Upstream fill variability was. Overfills left wet film, underfills caused rework loops, and micro-stops from cleanup added up—25–35 minutes a shift in our logs. In one week’s audit, 30–40% of unplanned stops tied back to the filler and product handling, not the sealer. The line runs only as fast as its messiest step.
I’ve even heard folks ask about hacks like “how to vacuum seal clothes without a vacuum sealer.” Fun for moving day, but it points at a mindset: compressing air isn’t the same as creating a reliable, food-safe seal. Our world cares about seam strength, residual O2, and repeatability. Shortcuts that work for sweatshirts don’t translate to marinated chicken.
The sneaky bottlenecks? Bag feed alignment and operator motion. We watched 60–90 second micro-pauses stack up when film sidetracked or a new operator reached awkwardly for the next pouch. On paper, those events look small. On the floor, they eat a case every ten minutes.
What Worked (and What Didn't)
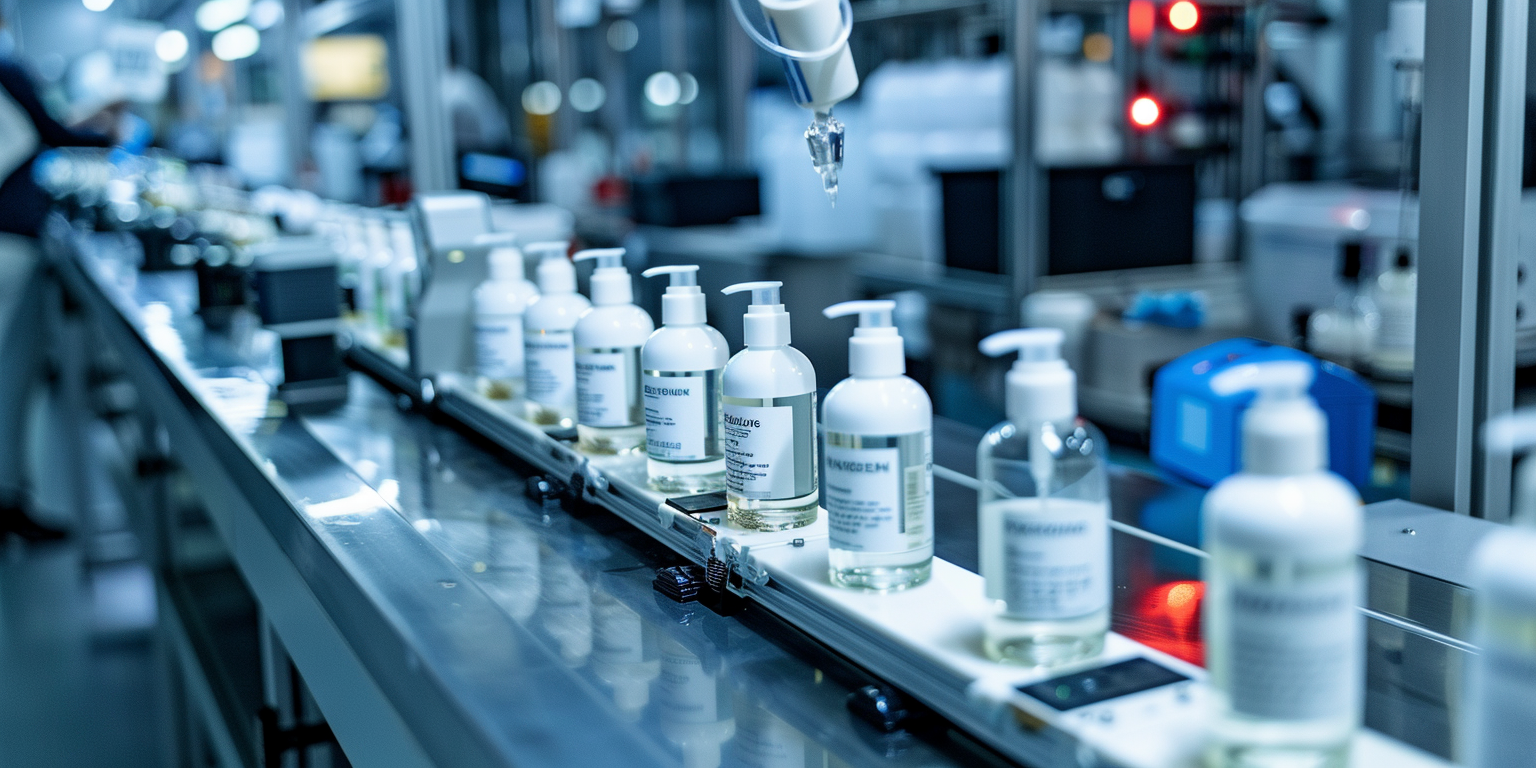
What stuck: controlling moisture at the seal. We added a gentle air knife across the mouth of the bag at roughly 15–20 L/min and switched to a PTFE tape with better release over the seal bar. Seal rejects moved from 4–6% down to about 2–3% over three weeks. Not glamorous, just cleaner seals. We also tightened our vacuum range window; letting it wander more than ~10 kPa was asking for leaks on larger formats.
What didn’t: simply raising bar temperature. We tried +10–15°C, and seams turned brittle on runs longer than two hours. Dwell-only fixes also ran us into cycle time limits—beyond ~1.2 seconds on our setup, the gains flattened while the schedule slipped. Chasing speed with heat is like tightening a bolt that’s already bottomed out: it feels like progress until it isn’t.
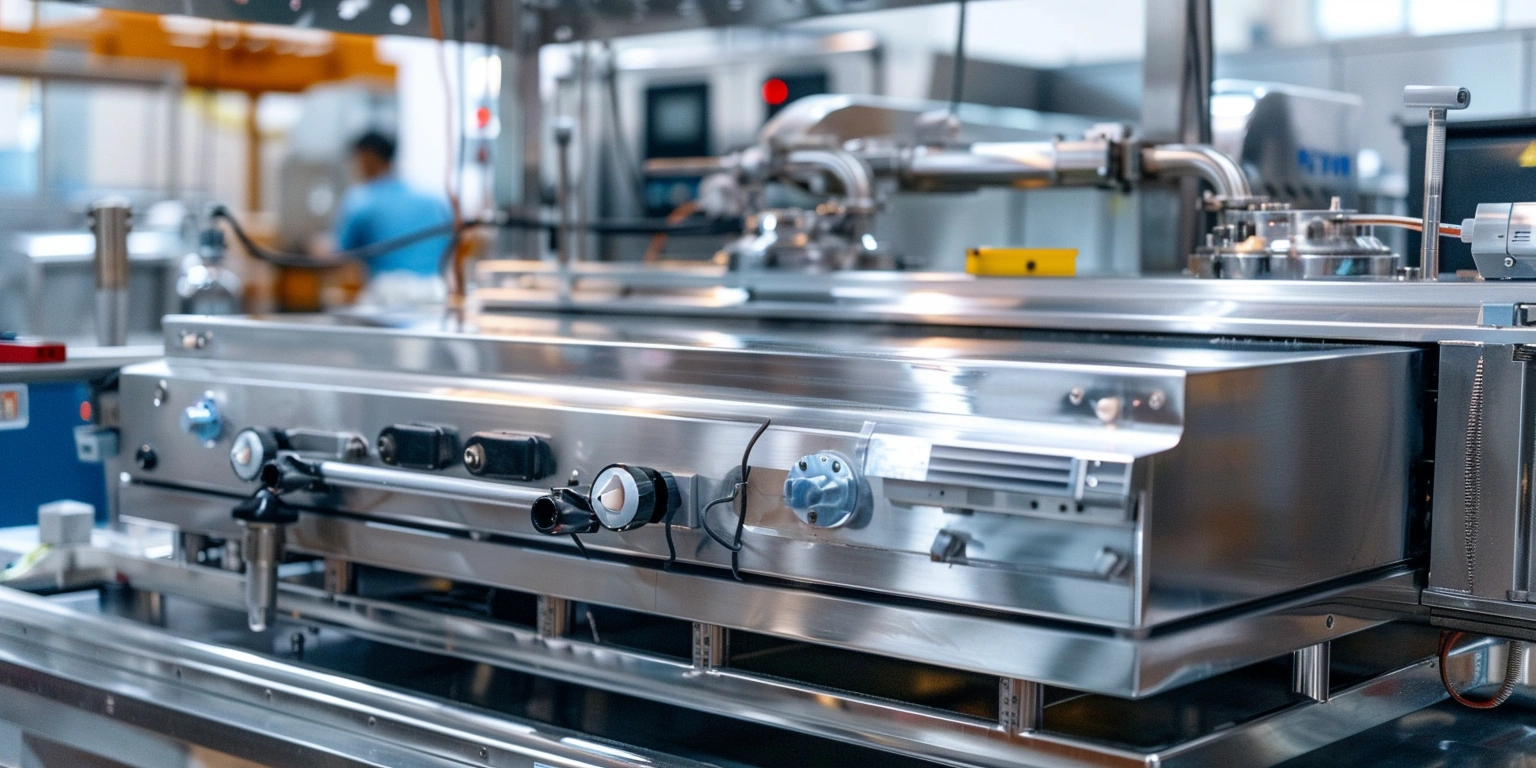
One unexpected help was a bench test with a sammic vacuum sealer in the QA lab. We used it to compare film stacks and seal tapes off-line. The lab unit isn’t a production answer, but it gave us faster feedback on which combinations tolerated a bit of product moisture. That saved us two trial runs on the main line.
The Challenges We Didn't Expect
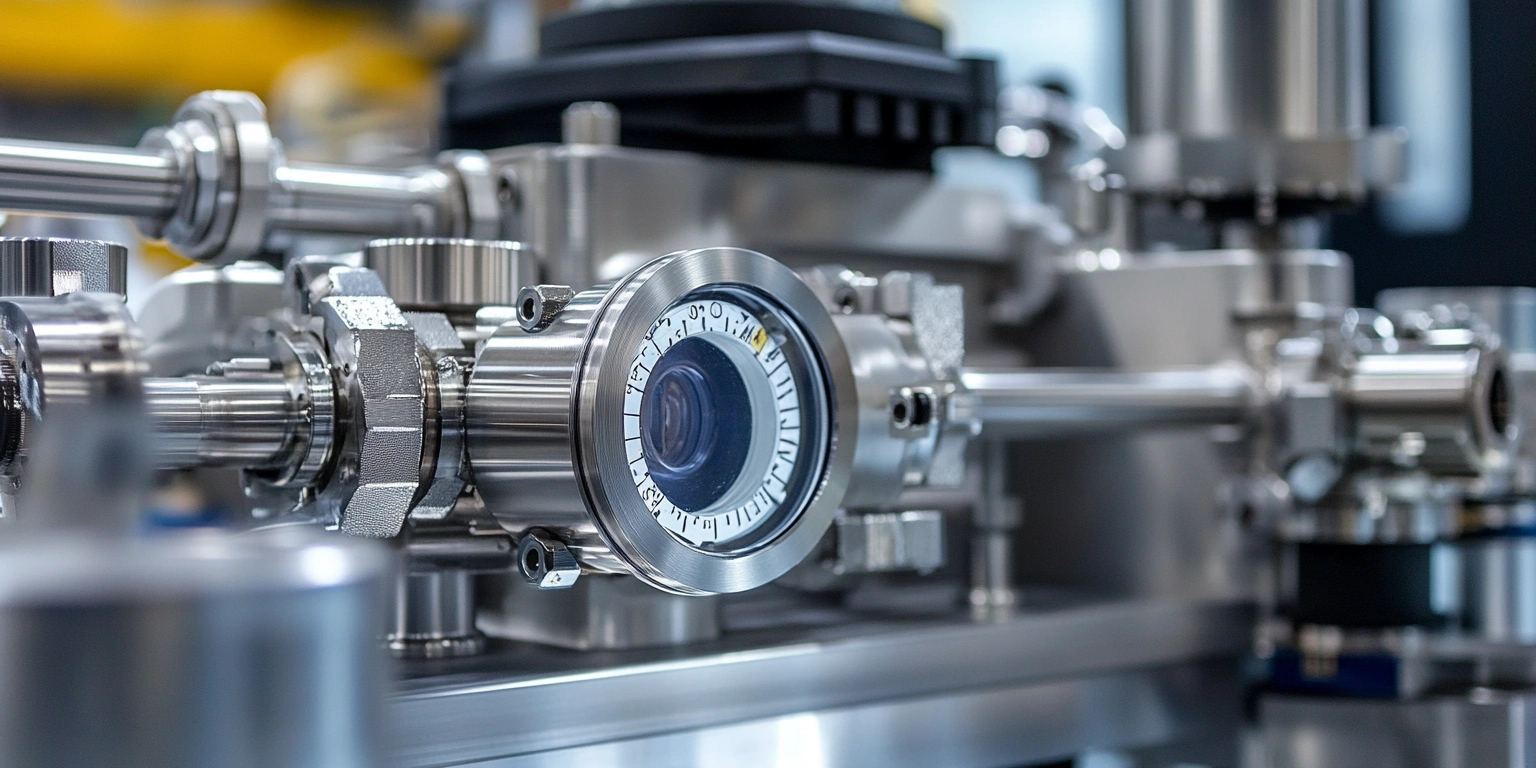
Maintenance had surprises. Gaskets wore unevenly on the chamber door, which meant vacuum draw time crept from 8–12 seconds to 12–15 before anyone noticed. Pump oil emulsified after long, cold product runs, and the smell was our first clue. We now kit spares by station—seals, PTFE tape, and pump filters in one tote—because hunting part numbers at 1 AM is a losing game. I’ve seen techs literally search “nesco ASFL vacuum sealerealer replacement parts” on a phone just to find a cross-reference; better to keep a printed BOM in the cabinet.
Training mattered more than we thought. Operators learned the difference between “hotter” and “longer” in about 4–6 hours of focused practice, and we renamed recipes from “Large/Small” to SKU codes to stop the wrong picks. Our changeovers settled from 22–28 minutes to about 14–18 when the layout and labels matched the reality of the motion. Not perfect, but far less chaos.
Based on insights from ASFL projects, we also watched the basics: chamber cleanliness each break, a quick leak check after lunch, and a mid-shift glance at vacuum levels. Those three habits saved more product than any exotic setting change we tried.
The Numbers Six Months Later
Here’s the honest snapshot. OEE moved from roughly 68% to 82% on our main line. Seal-related rejects, which used to sit around 4–6%, now hover near 2–3% most weeks. Leak-test fails dropped from 15–20 to about 7–10 per thousand. We didn’t hit the 85% target we sketched in the kickoff, but the floor feels steadier and planning trusts the numbers again.
On the maintenance side, we logged 3–5 fewer hours a week chasing vacuum performance and went through 1–2 fewer oil changes per quarter once we tightened cleaning and replaced gaskets on a cadence. Operators tell me the line sounds “less angry” after lunch—that’s their way of saying the recipe holds.
The Next Phase
We’re lining up SPC on seal strength and residual O2 by recipe, and I’m open to lightweight anomaly detection on vacuum draw time—only if our sensors stay calibrated. I’ve seen clever algorithms stumble on drifting probes and dusty chambers. Fancy comes later. Basics come first. Also, consumer references are fine for training analogies—showing a foodsaver v4400 2-in-1 vacuum sealer machine helps new hires grasp the concept—but our controls and risks are different.
If you’re where we were, start with moisture management, seal bar condition, and recipe discipline. Map micro-stops; they hide your capacity. Bring maintenance and operators into the same huddle. And remember: speed is only a win when the seal holds. That’s the standard I keep repeating to the team—and the one I’ll keep bringing to future **ASFL** engagements.